
Optonet Vision Unit Documentation
Please note that this User Guide is being currently updated; new sections will be added shortly.

4.7.1.Test of “Broken Glasses”
The Children Visual Acuity (VA) section includes a new test (the “broken glasses” test) to evaluate acuity in the preschool population. The “broken glasses” test uses Landolt C optotypes, which have traditionally been considered as the standard in the measurement of VA, and the reference against which the rest of optotypes should be compare.1 The optotypes are presented in a modified, four-choice format, which substantially improves validity over an older (Broken Wheel) test which uses a two-choice format.2
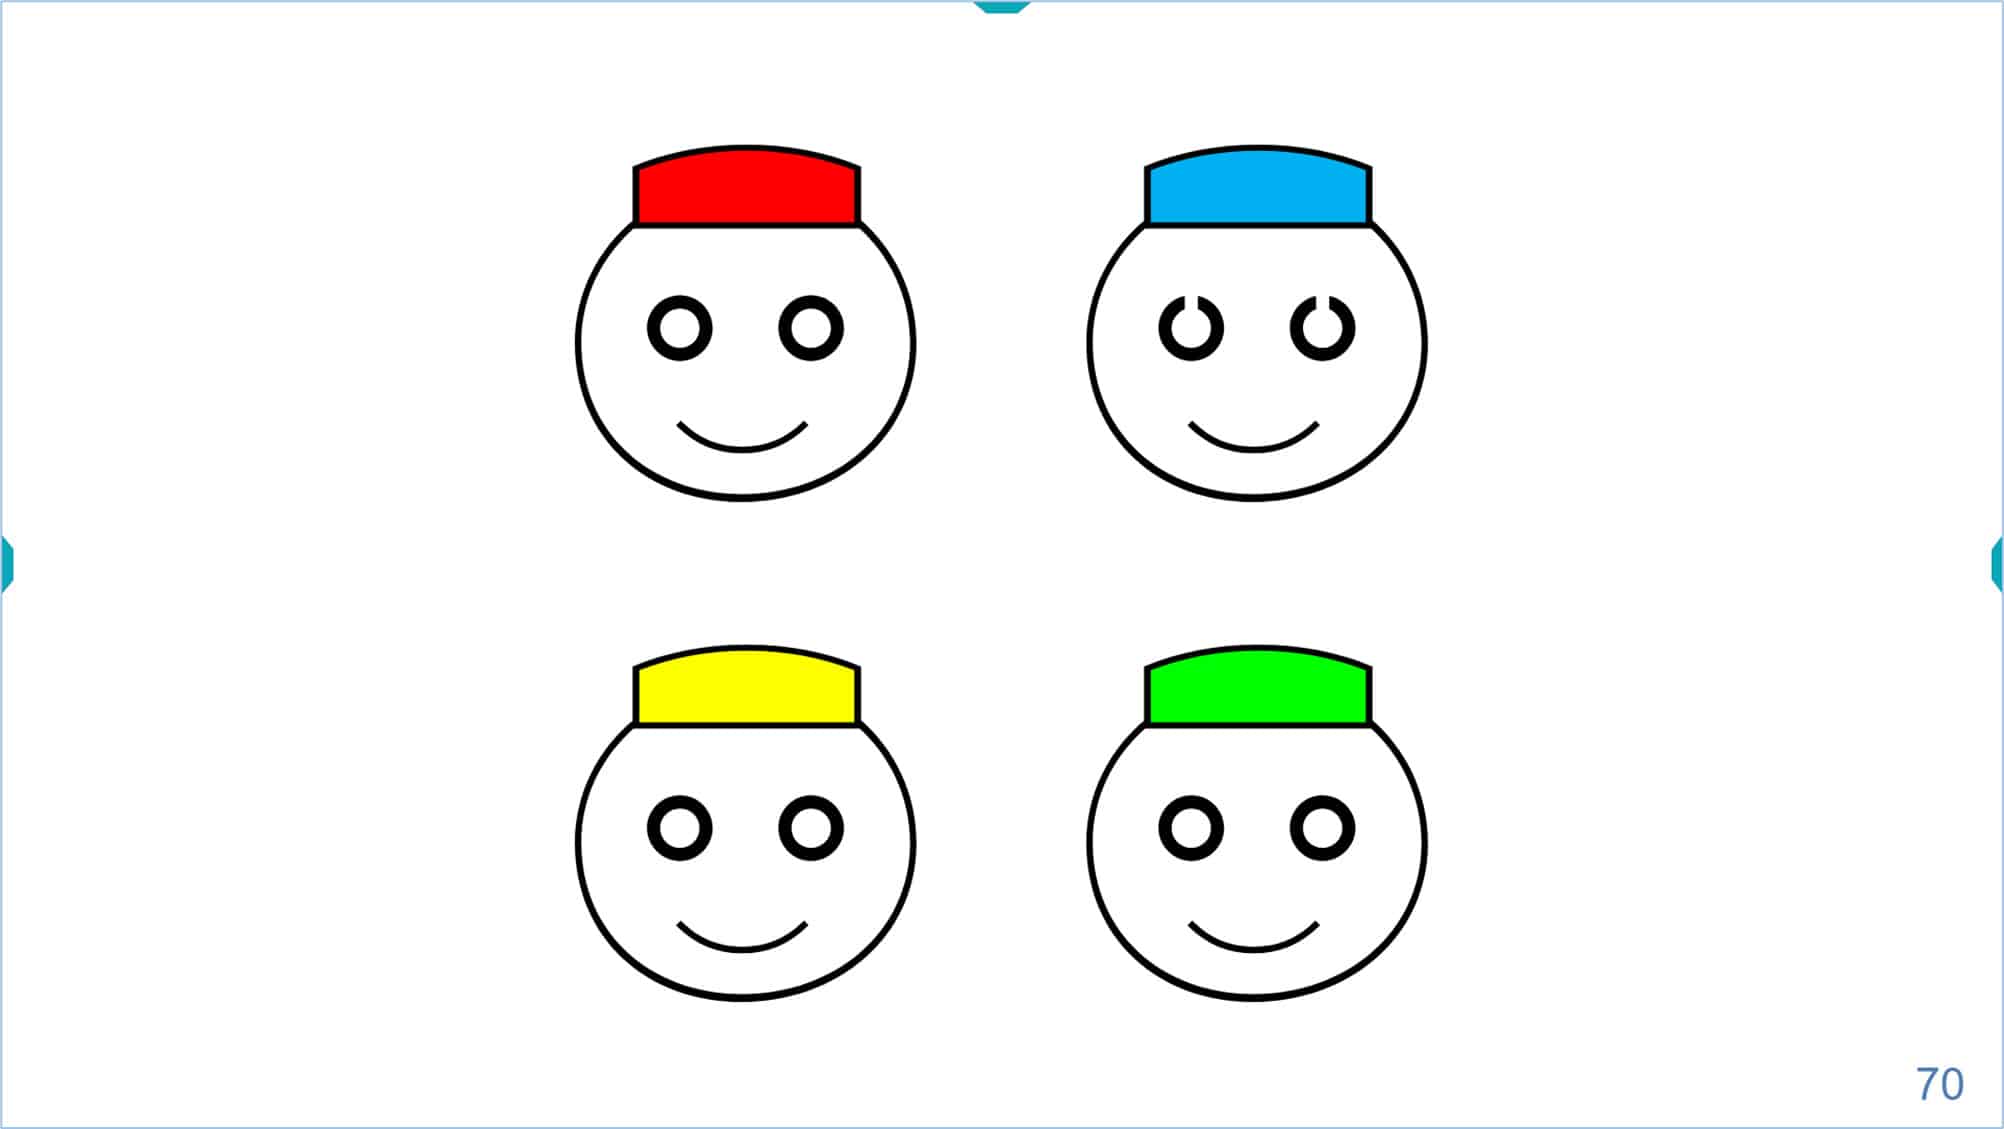
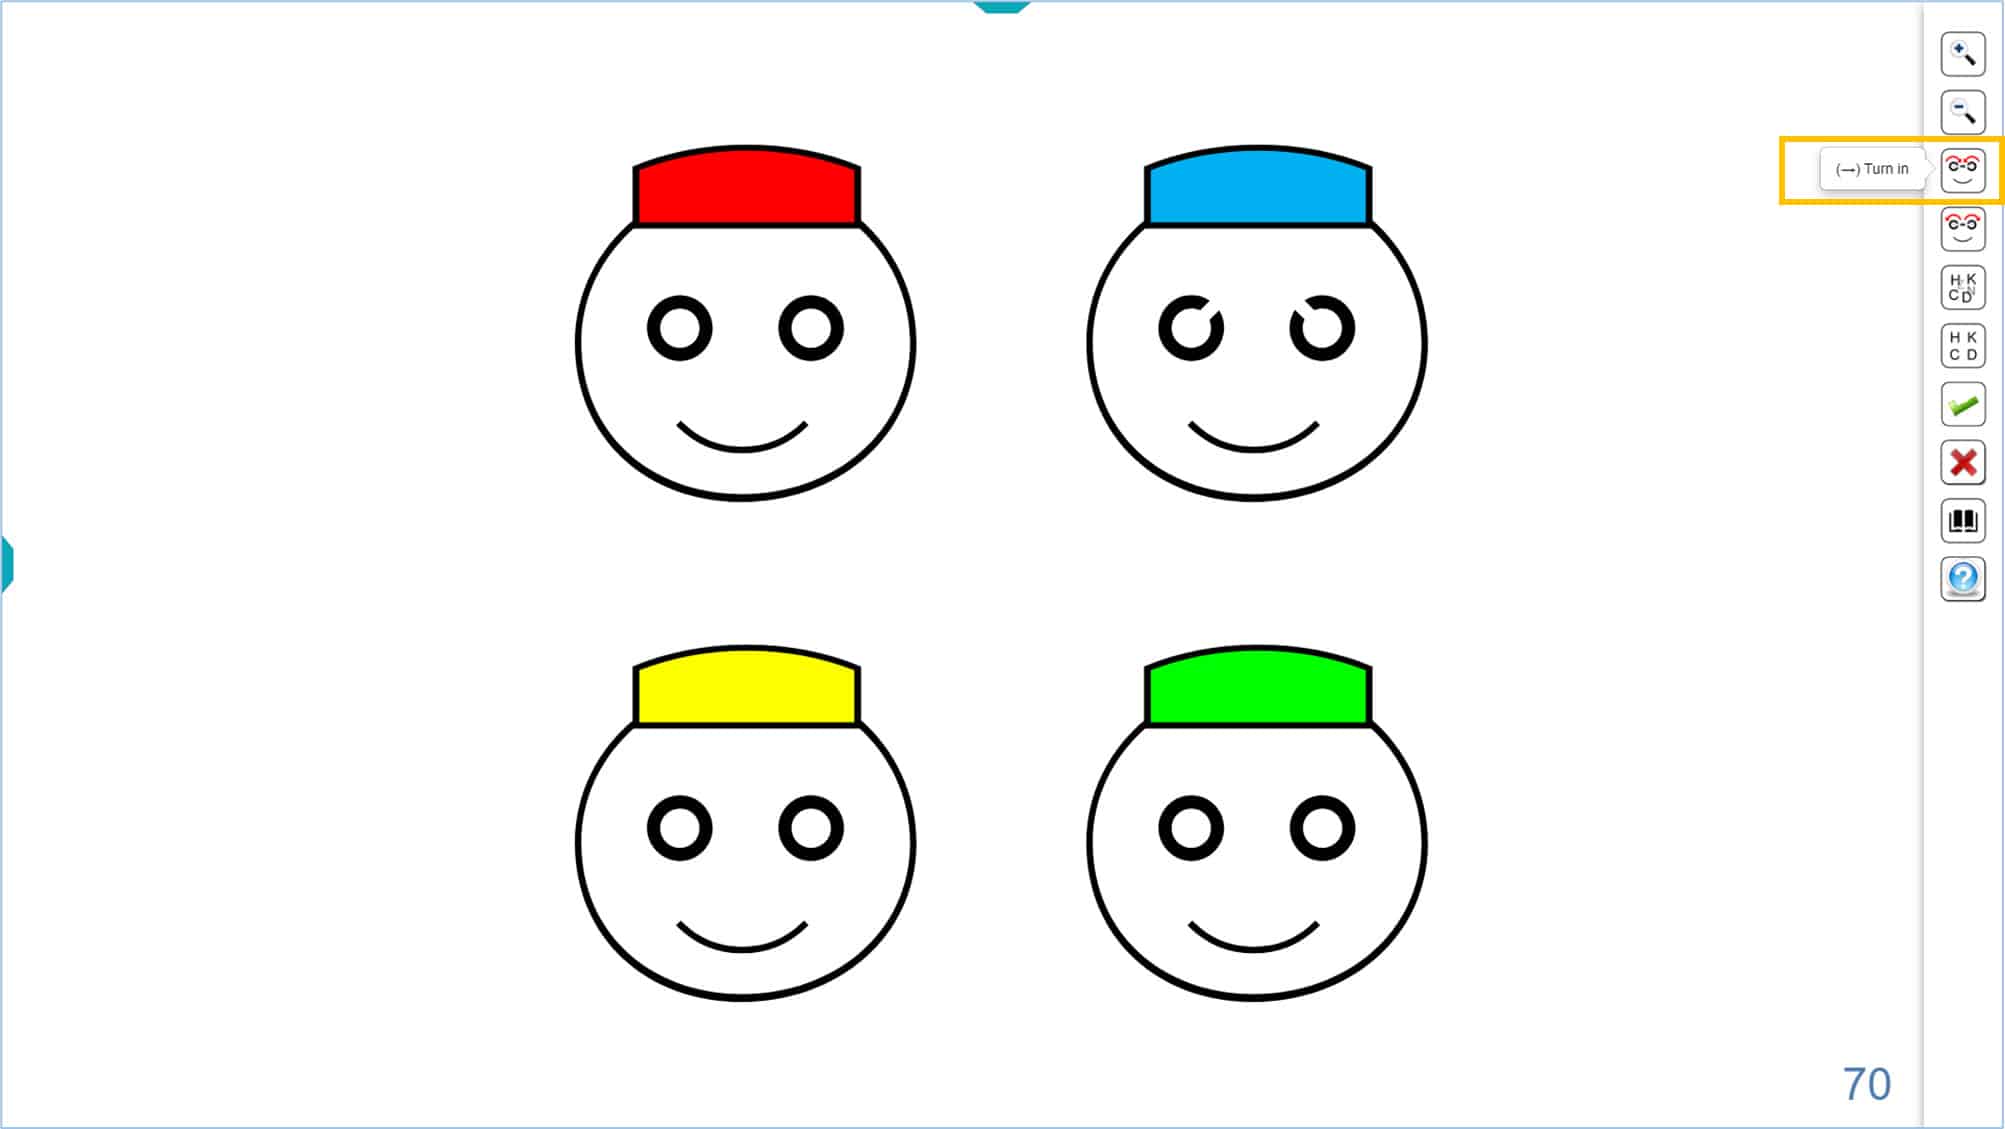
The test consists of 4 smiling faces wearing glasses, three of which have complete eyeglass rings, while the rings of the fourth face are open. The open rings in the face with “broken glasses” are actually calibrated Landolt Cs. All the rings on the screen have the same size and stroke thickness. The strokes on the face and cap guarantee sufficient contour interaction for improved amblyopia detection in the preschool population. Four simple colours have been used for the caps: red, blue, green and yellow. The layout of the colours is always the same, on every screen.
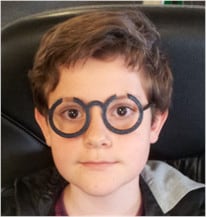
The child simply has to point out which face has the “broken glasses”, either with a gesture or by telling the colour of the cap. We can also print a “Pairing Card” (which we can download from the vision Unit documentation), which allows the child to point out which of the 4 faces has the Landolt C, or broken glasses.
It is recommended that the parents practice the test with the child at home, before examination, so that the child knows what to identify. Sheets with figures can also be downloaded from the documentation so that parents can practice with the child. Practicing at home will make the child more comfortable and cooperative in the unfamiliar examination setting.
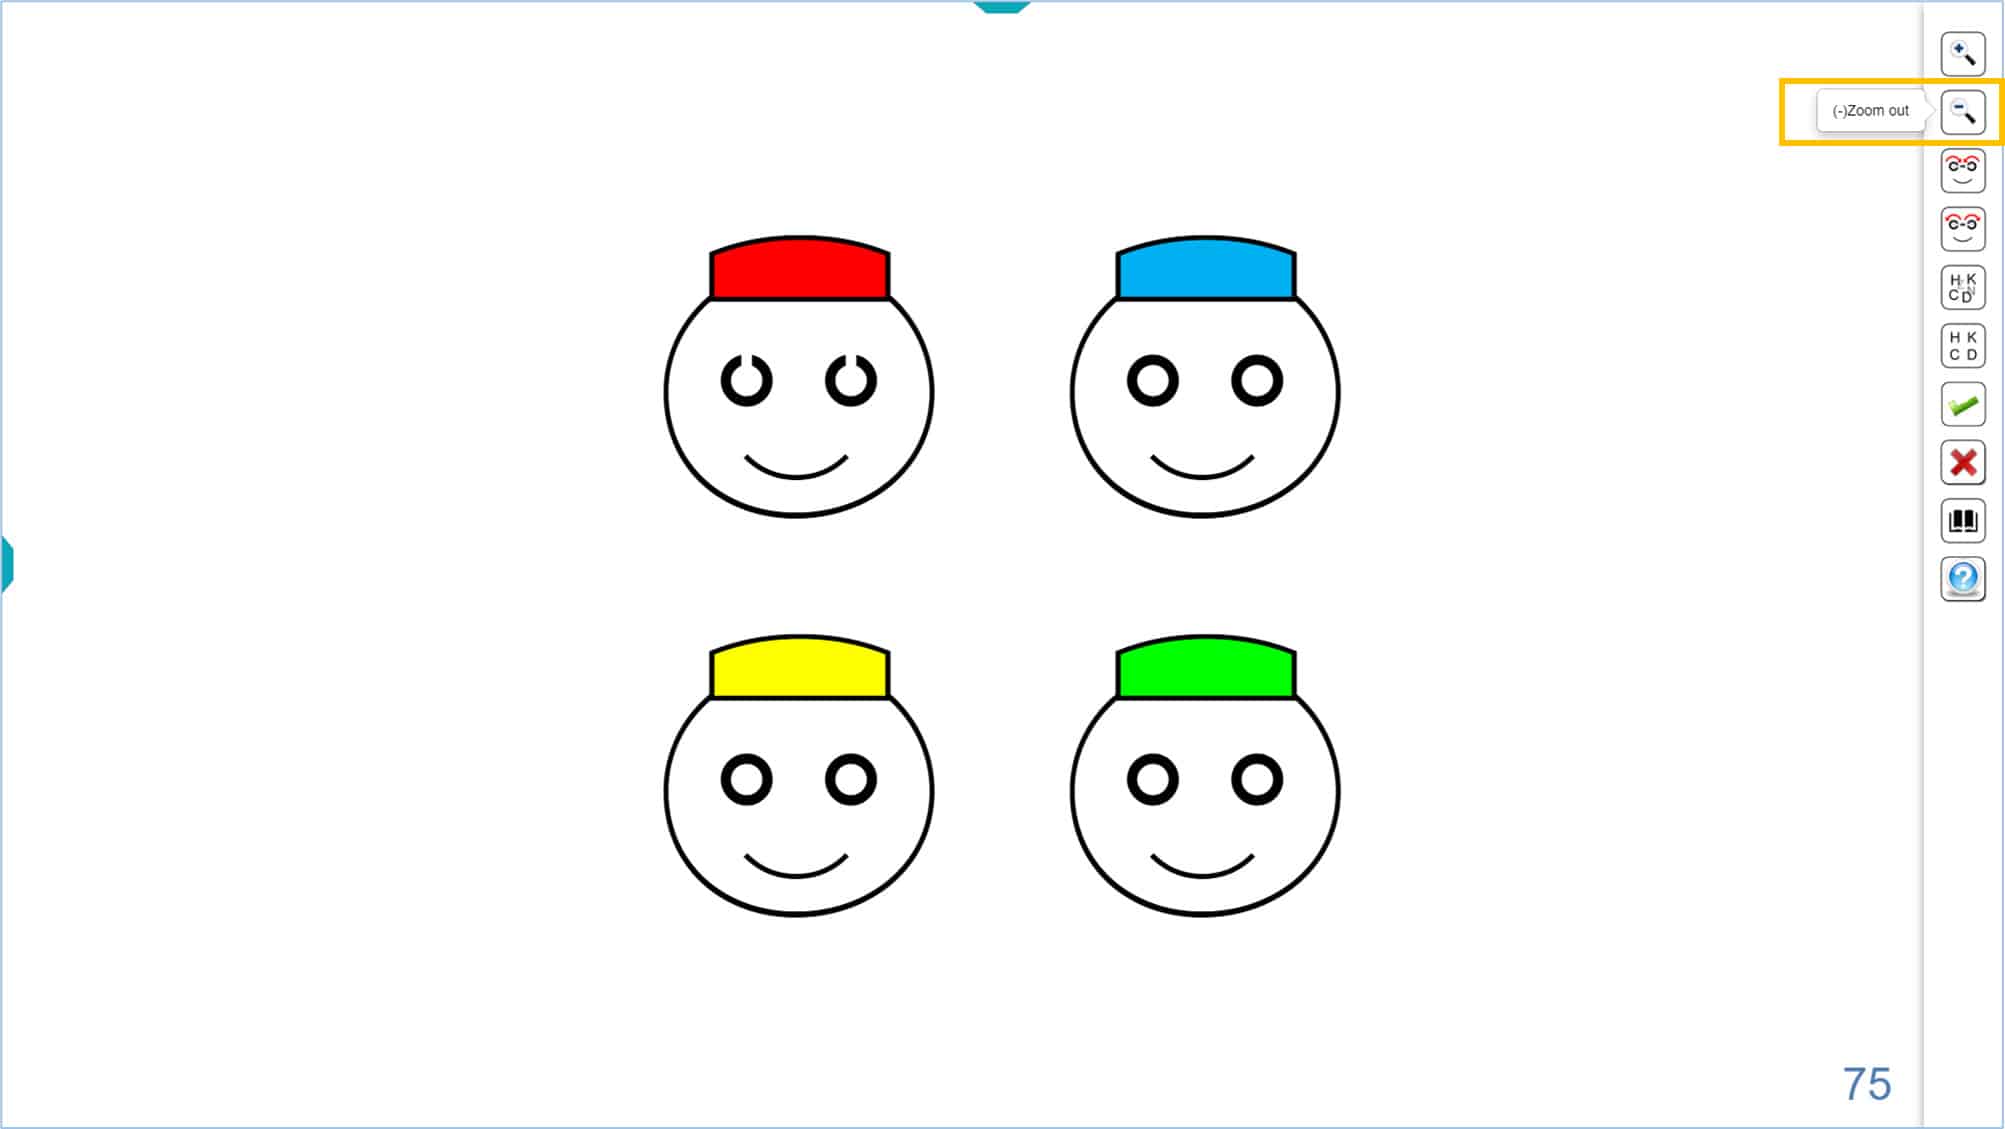
The size of the faces and rings can be increased using the icon of the auxiliary menu or the keyboard shortcuts (the “+” sign, or with the up arrow “↑” of the keyboard). Size can be decreased using the icon, or the keyboard shortcuts (the “-” sign, or the down arrow “↓”).
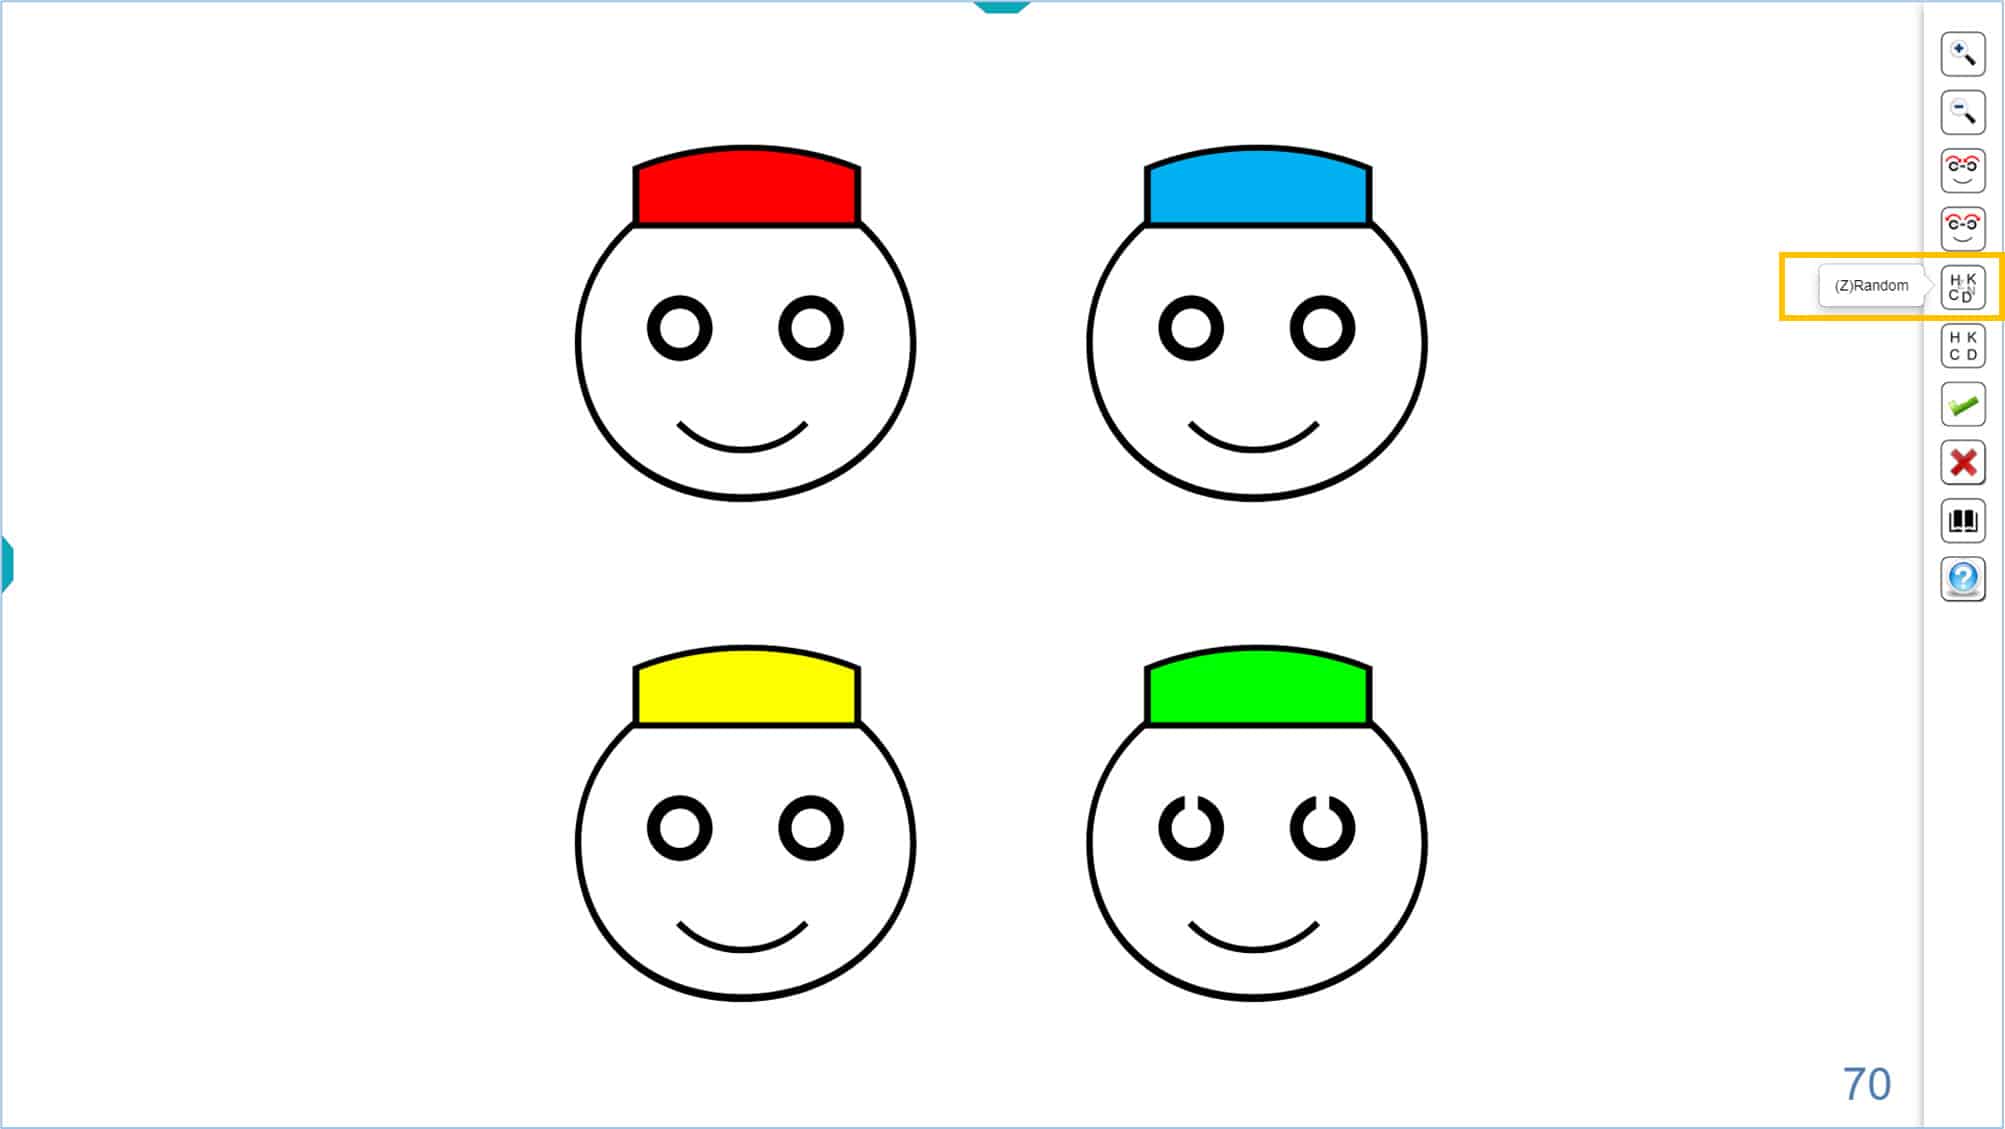
The default location of faces with the broken glasses is always the same for a given acuity level (i.e., the broken glasses appear in the same location at first). To avoid memorization and allow repeated attempts at the threshold level, the location of the broken glasses can be randomized using the icon or the keyboard shortcut (type “Z” on the keyboard). While the sequence of coloured caps remains the same, the broken glasses appear randomly on any of the four faces. To return to the usual layout use the icon, or type “X” on the keyboard.
The orientation of the gap in the Landolt C can also be changed. Using the icons below; the gap will move 45° (clockwise or counter-clockwise) each time you press these buttons.
Alternatively, you can use the keyboard shortcuts (the right → and left ← arrows). This might be useful for children with astigmatism, for whom you can modify the orientation of the apertures before beginning the measurement of the VA without correction (ideally at 45º of the axis of astigmatism), so that you don’t under- or over-estimate acuity.
This test displays a full range of acuity optotypes, up to 115 VAR (6/3, 20/10, 2.0 Dec). As always, the lowest VA value (largest target) that can be displayed will depend on the size of each screen. The VA value is always displayed in the lower right corner of the screen.
If the dimensions of the monitor do not allow the 4 faces to be displayed, only two will appear. The progression of size is logarithmic, in steps of 0.1 log, like the rest of VA optotypes.

It is recommended to perform the test initially at a distance of 3 or 4 m, to enhance cooperation. If desired, other distances can also be used. The program offers a specific calibration for the desired test distance of paediatric tests (within “Screen Calibration” setup).
The program also includes an automatic method for the measurement of the VA using the “Broken Glasses”. This method is explained in detail on the “VA Testing Protocol” which can be found on the Optonet Vision Unit documentation.