
Optonet Vision Unit Documentation
Please note that this User Guide is being currently updated; new sections will be added shortly.

4.4.1.Selecting Rows and VA Values.
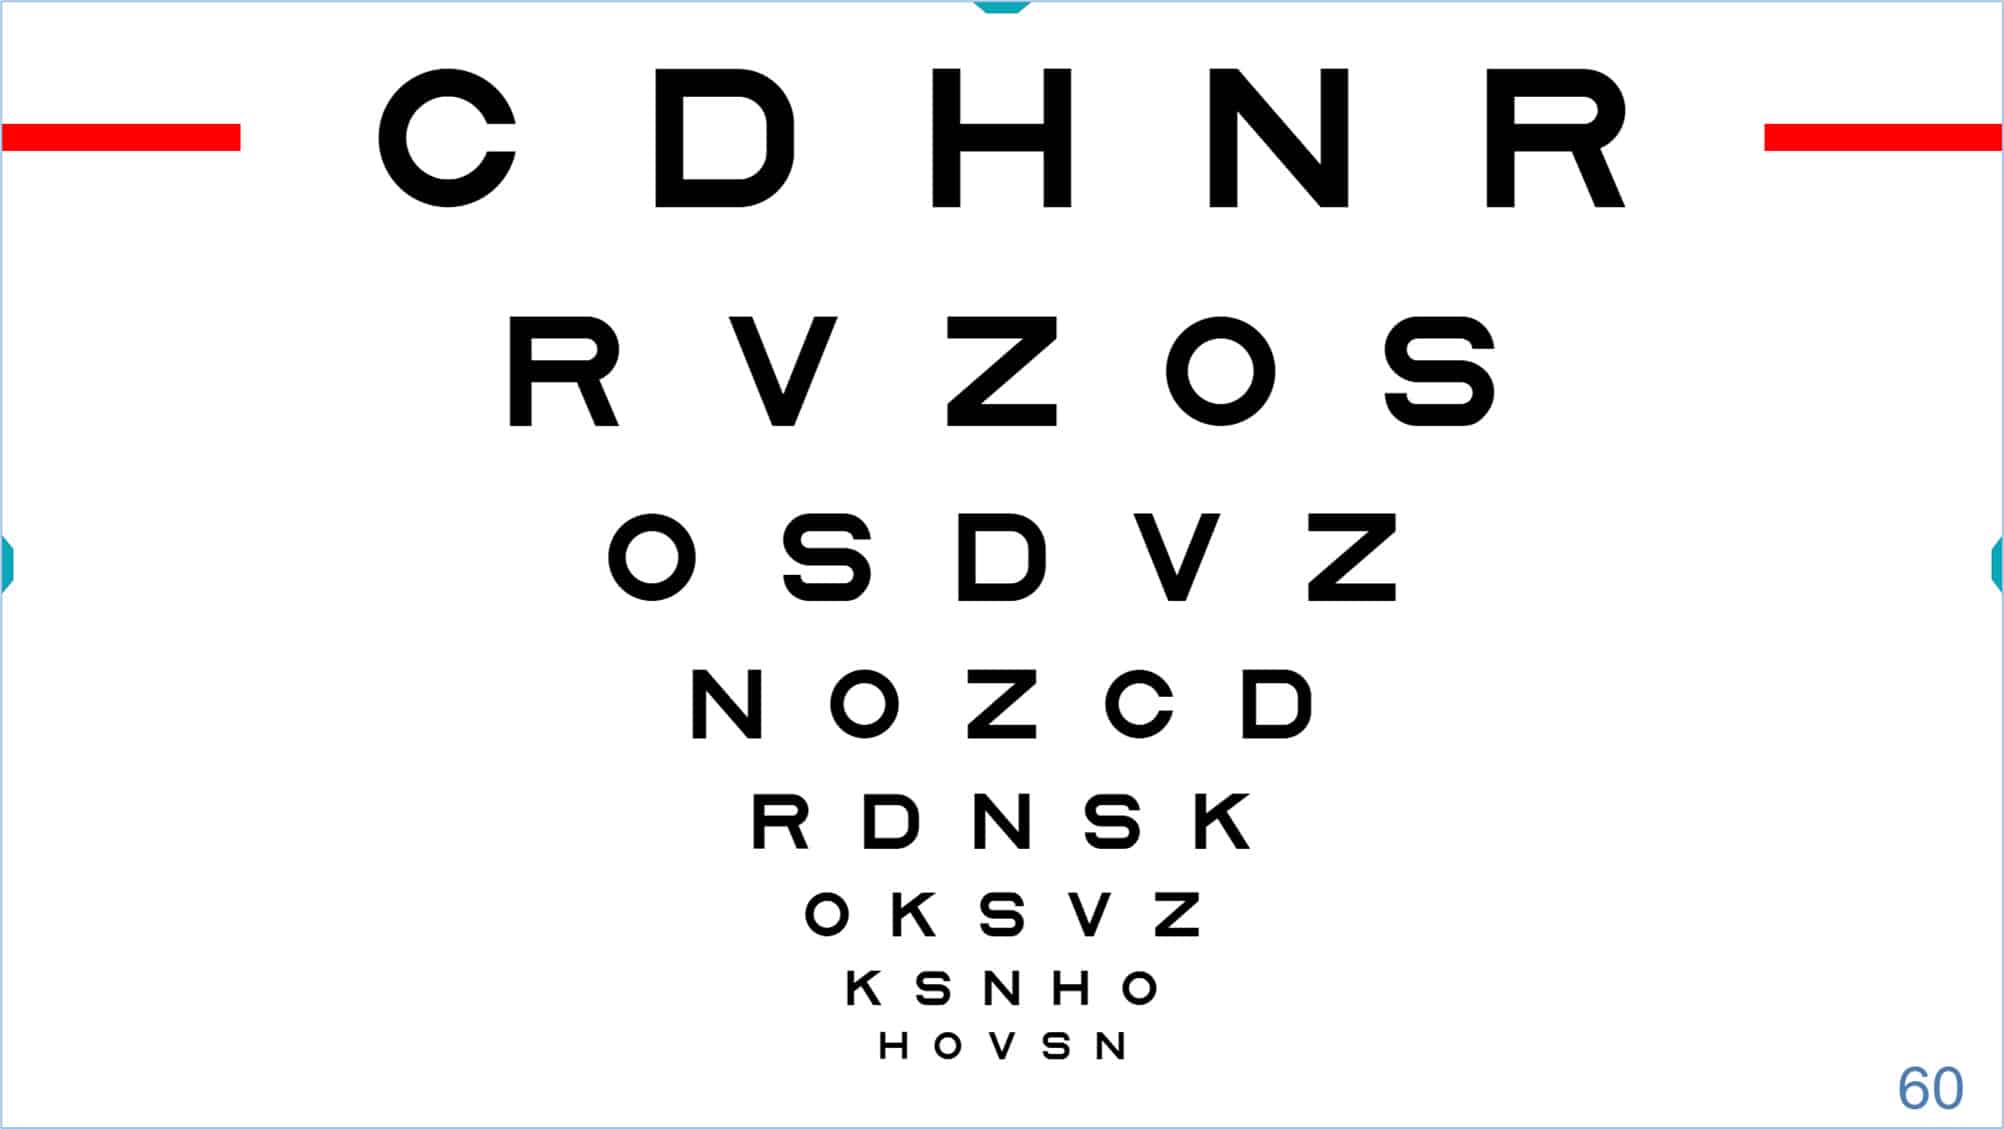
The tools menu can be used to add a red line to indicate which row the patient should read. The red line appears by clicking on the “line up”, or “line down” icons in the tools menu.
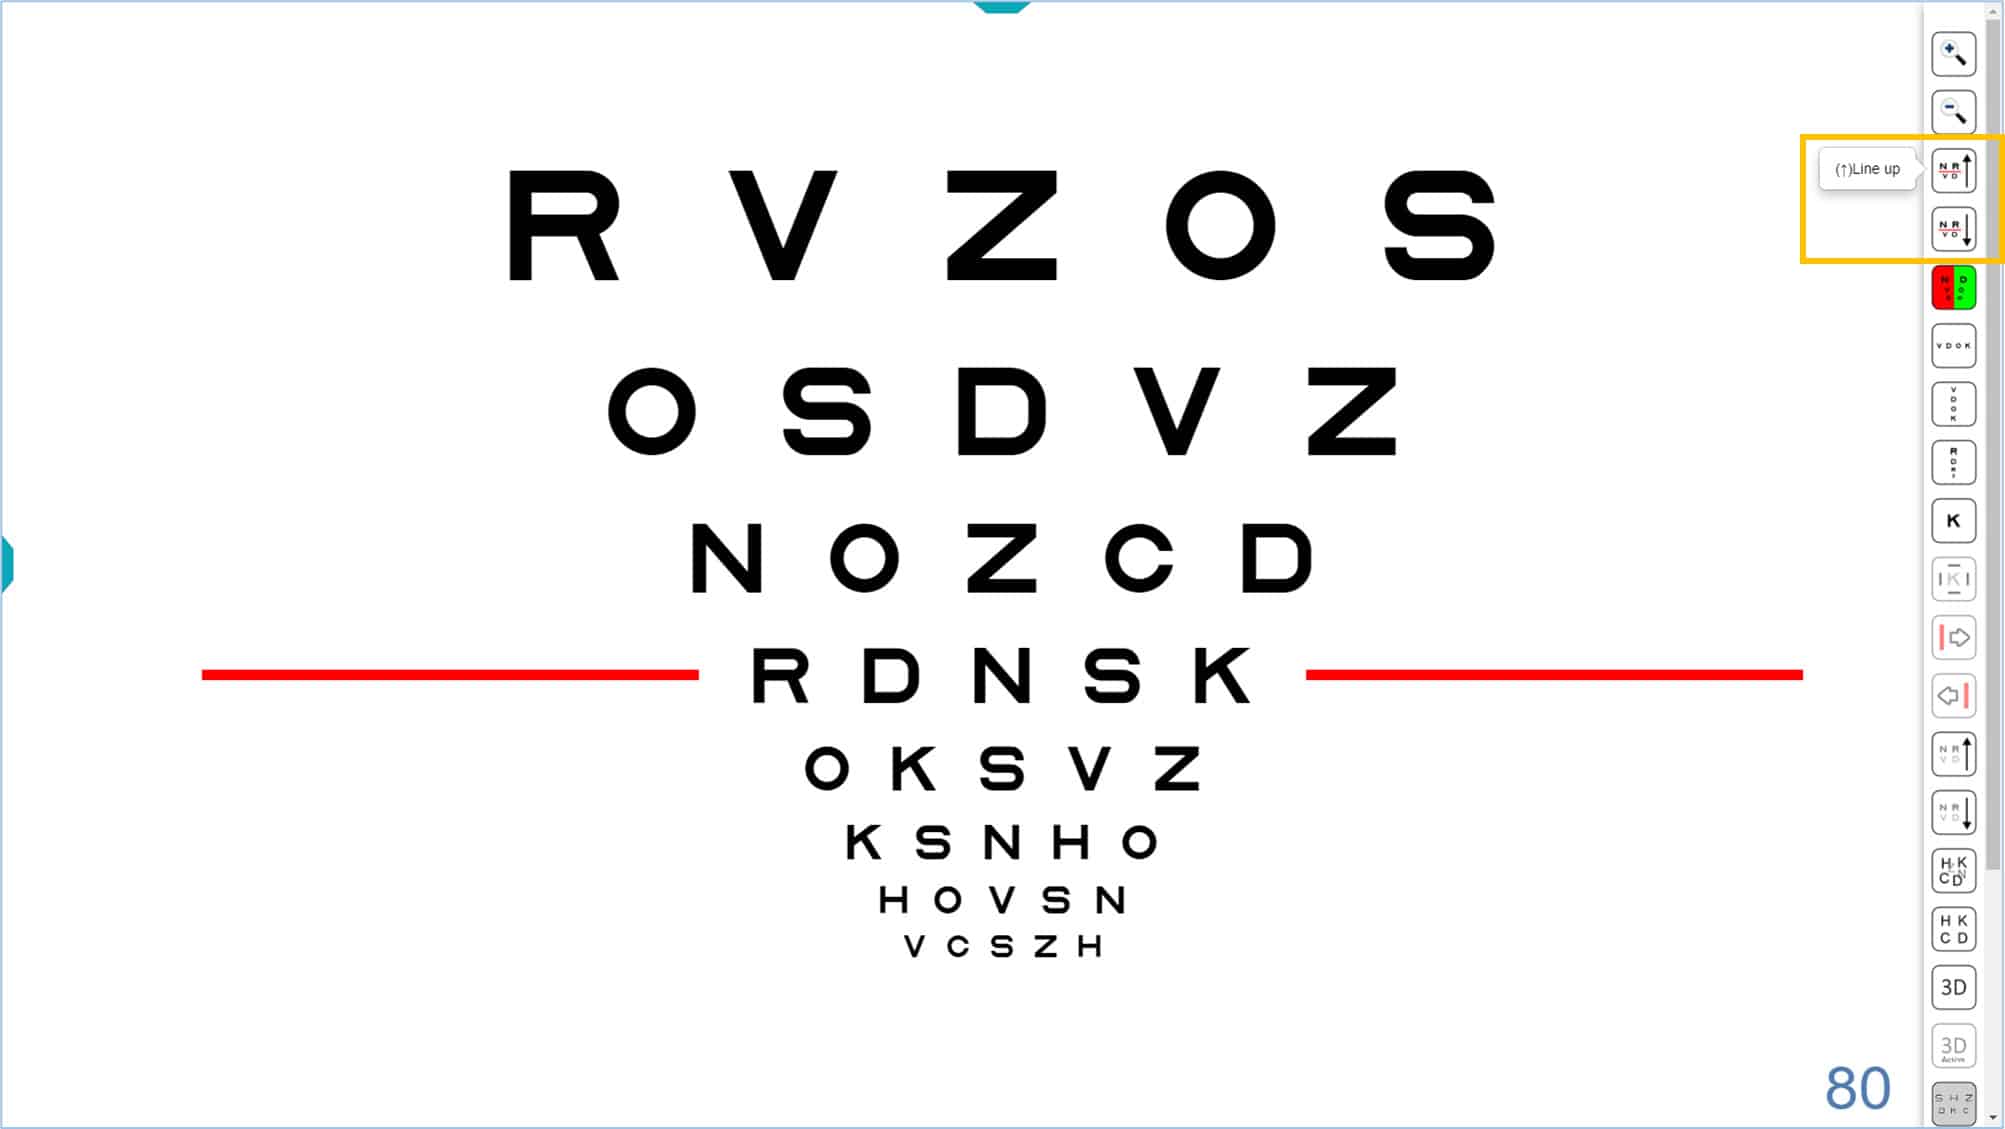
The keyboard shortcut (arrow keys up ↑ and down ↓) will also show the red lines. When you press the ↑ arrow, the red line will appear at the bottom of the chart. The red line will go up one level after each additional click. Similarly, when you press the ↓ arrow, the red line appears at the top of the chart and goes down one level for each additional click.
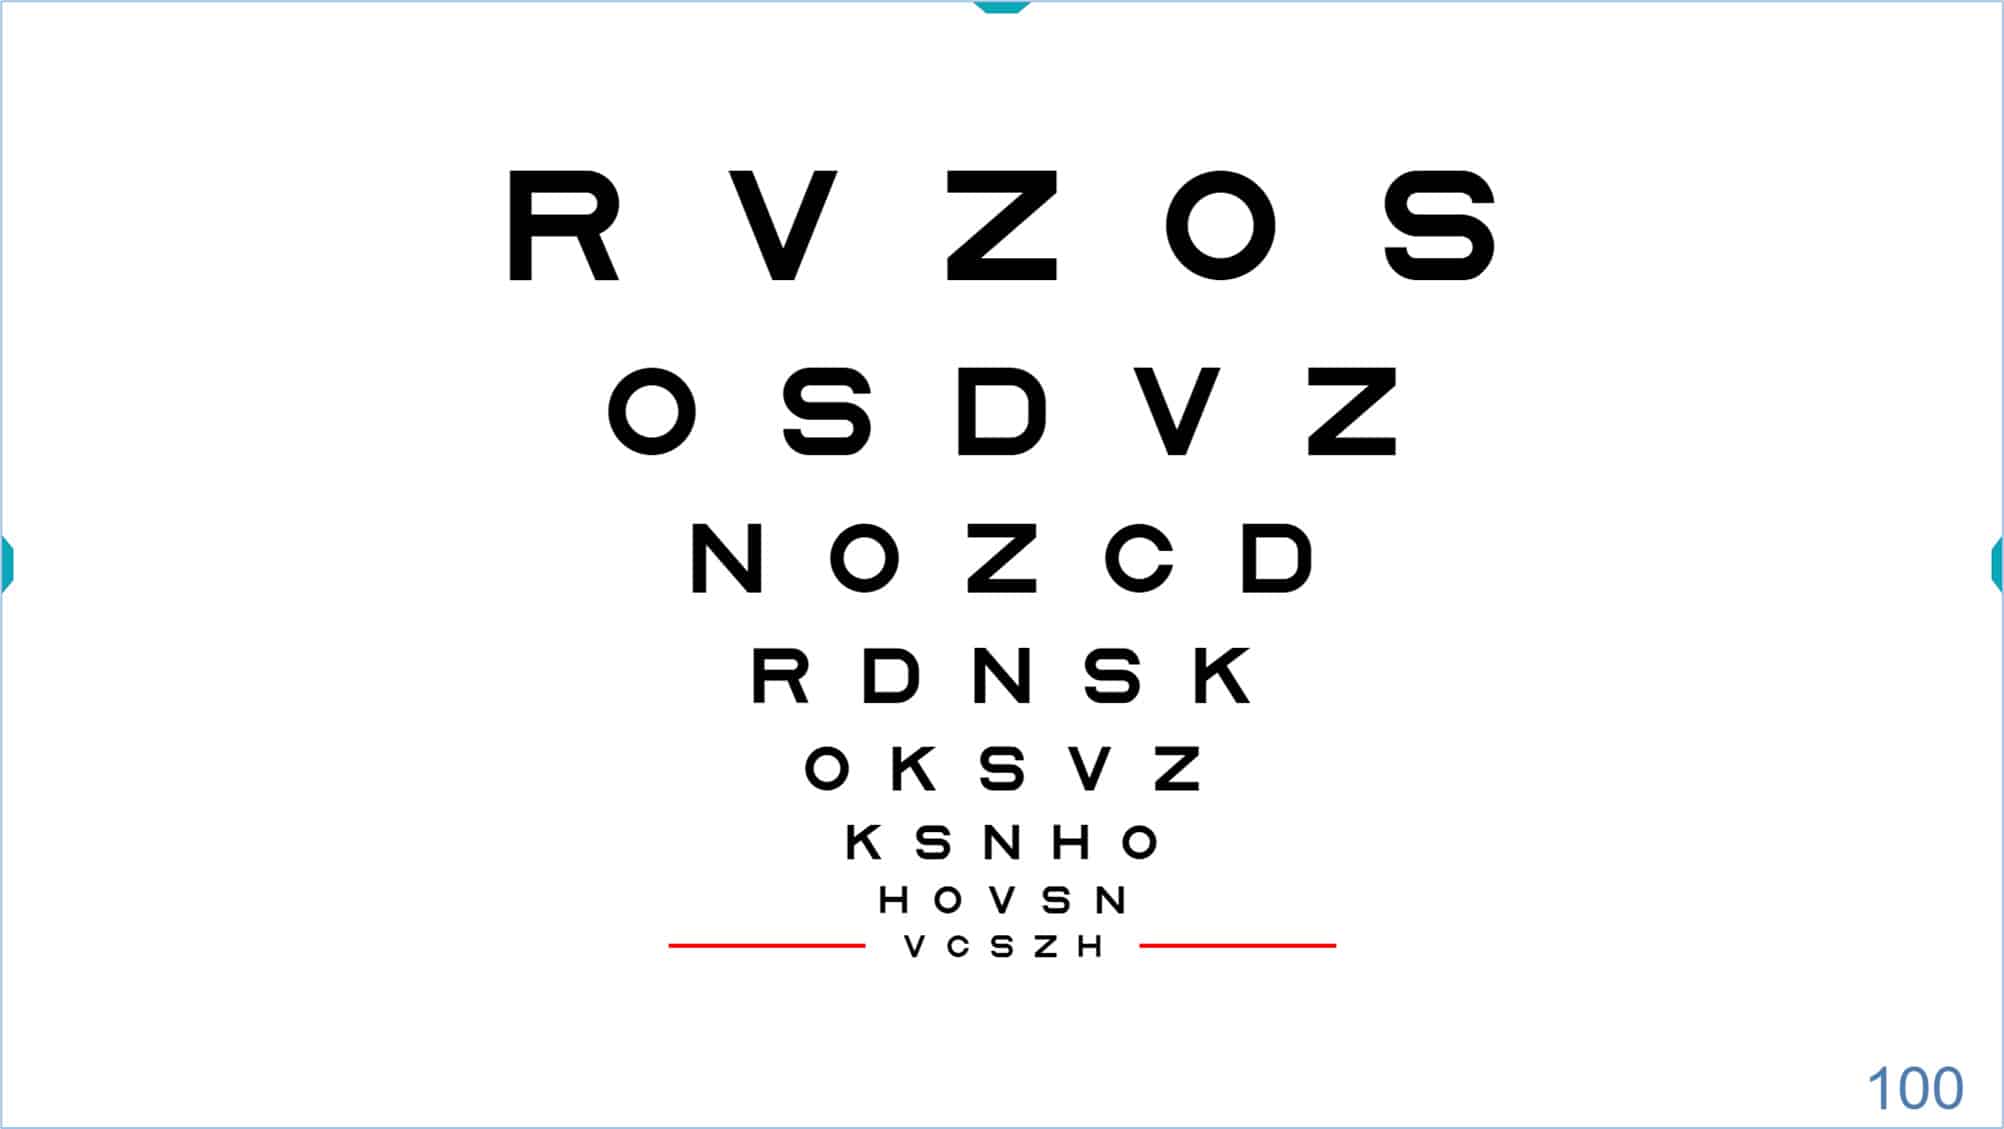
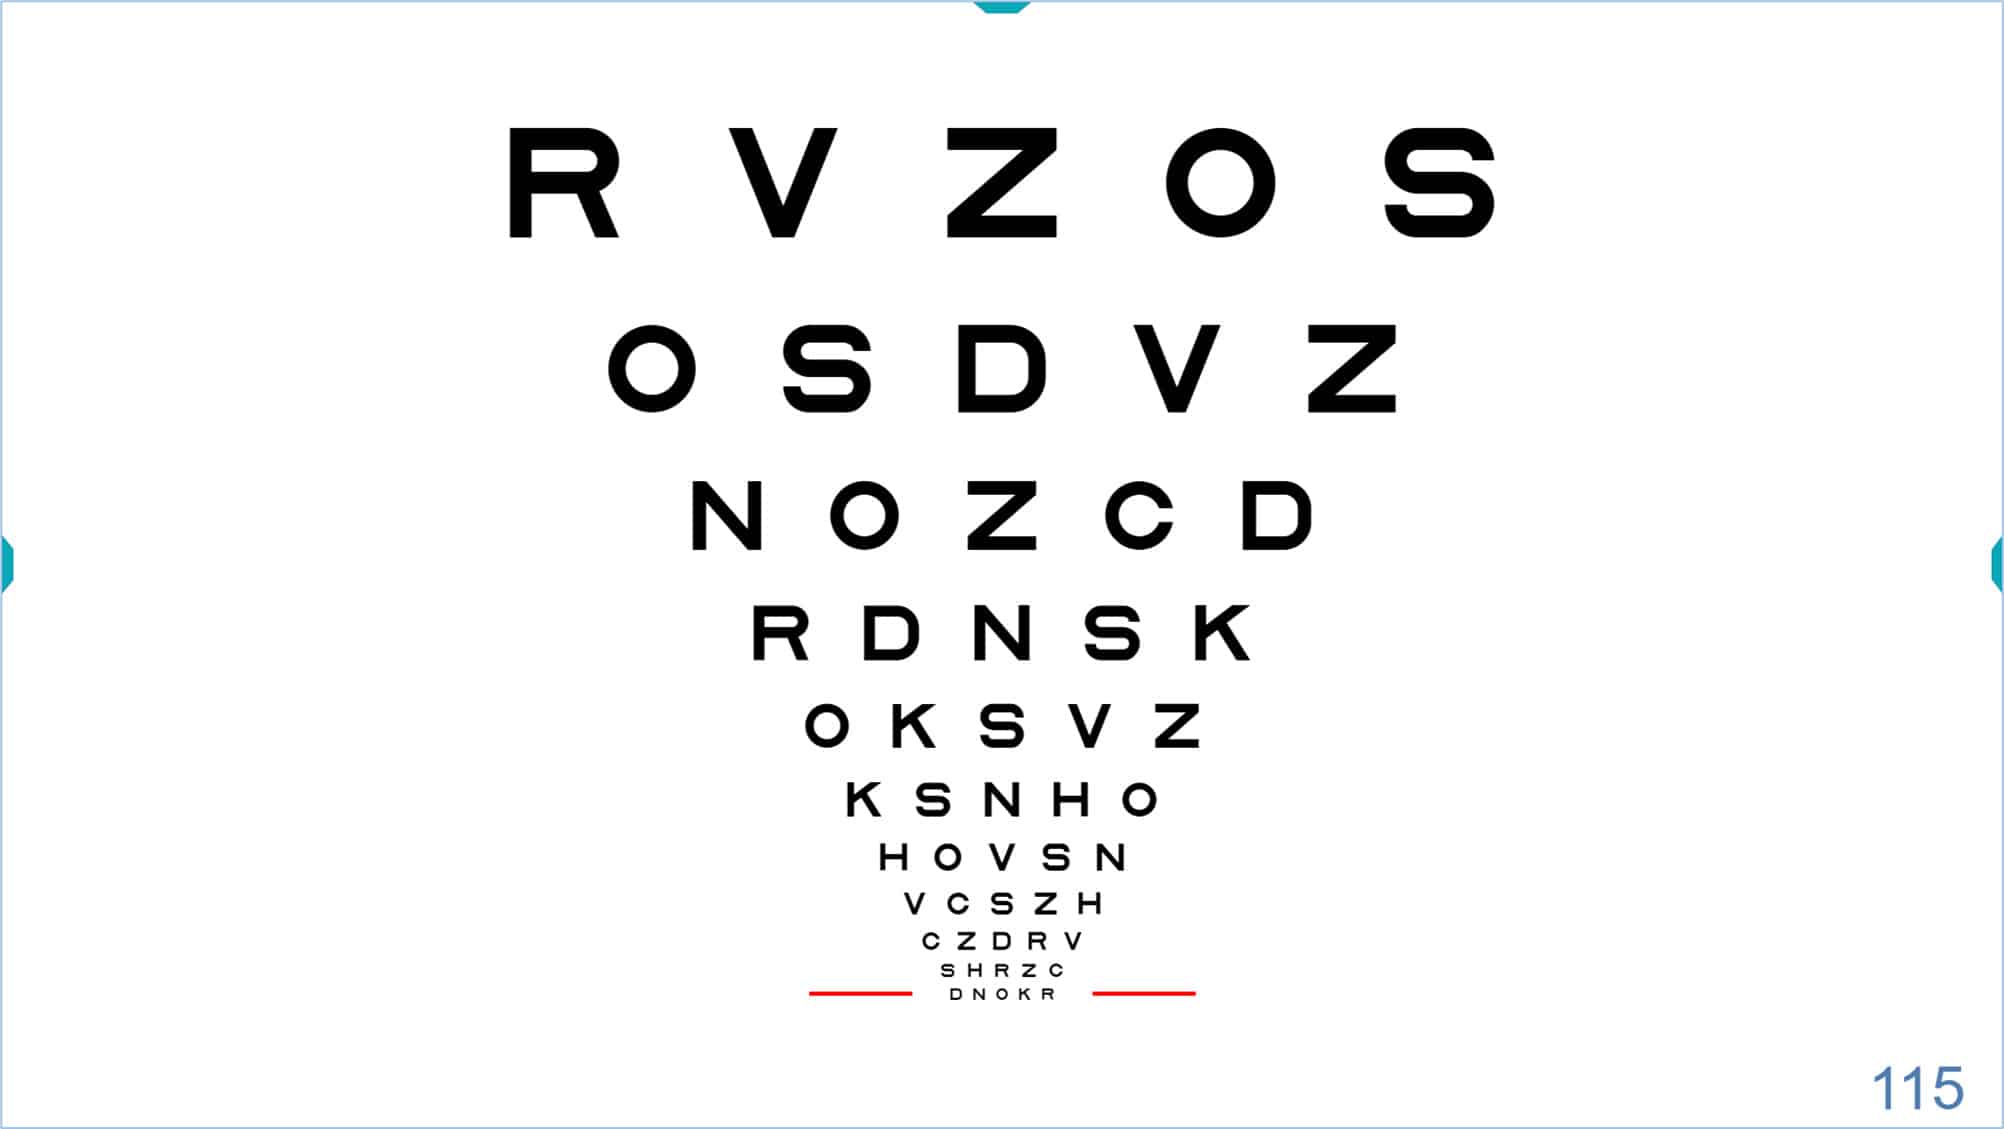
When you reach the end of the displayed chart, you may continue to click the ↓ arrow to display smaller letters, until the minimum size of – 0.30 log (100 VAR) (also determined by the resolution of each screen) is reached.
 |
 |
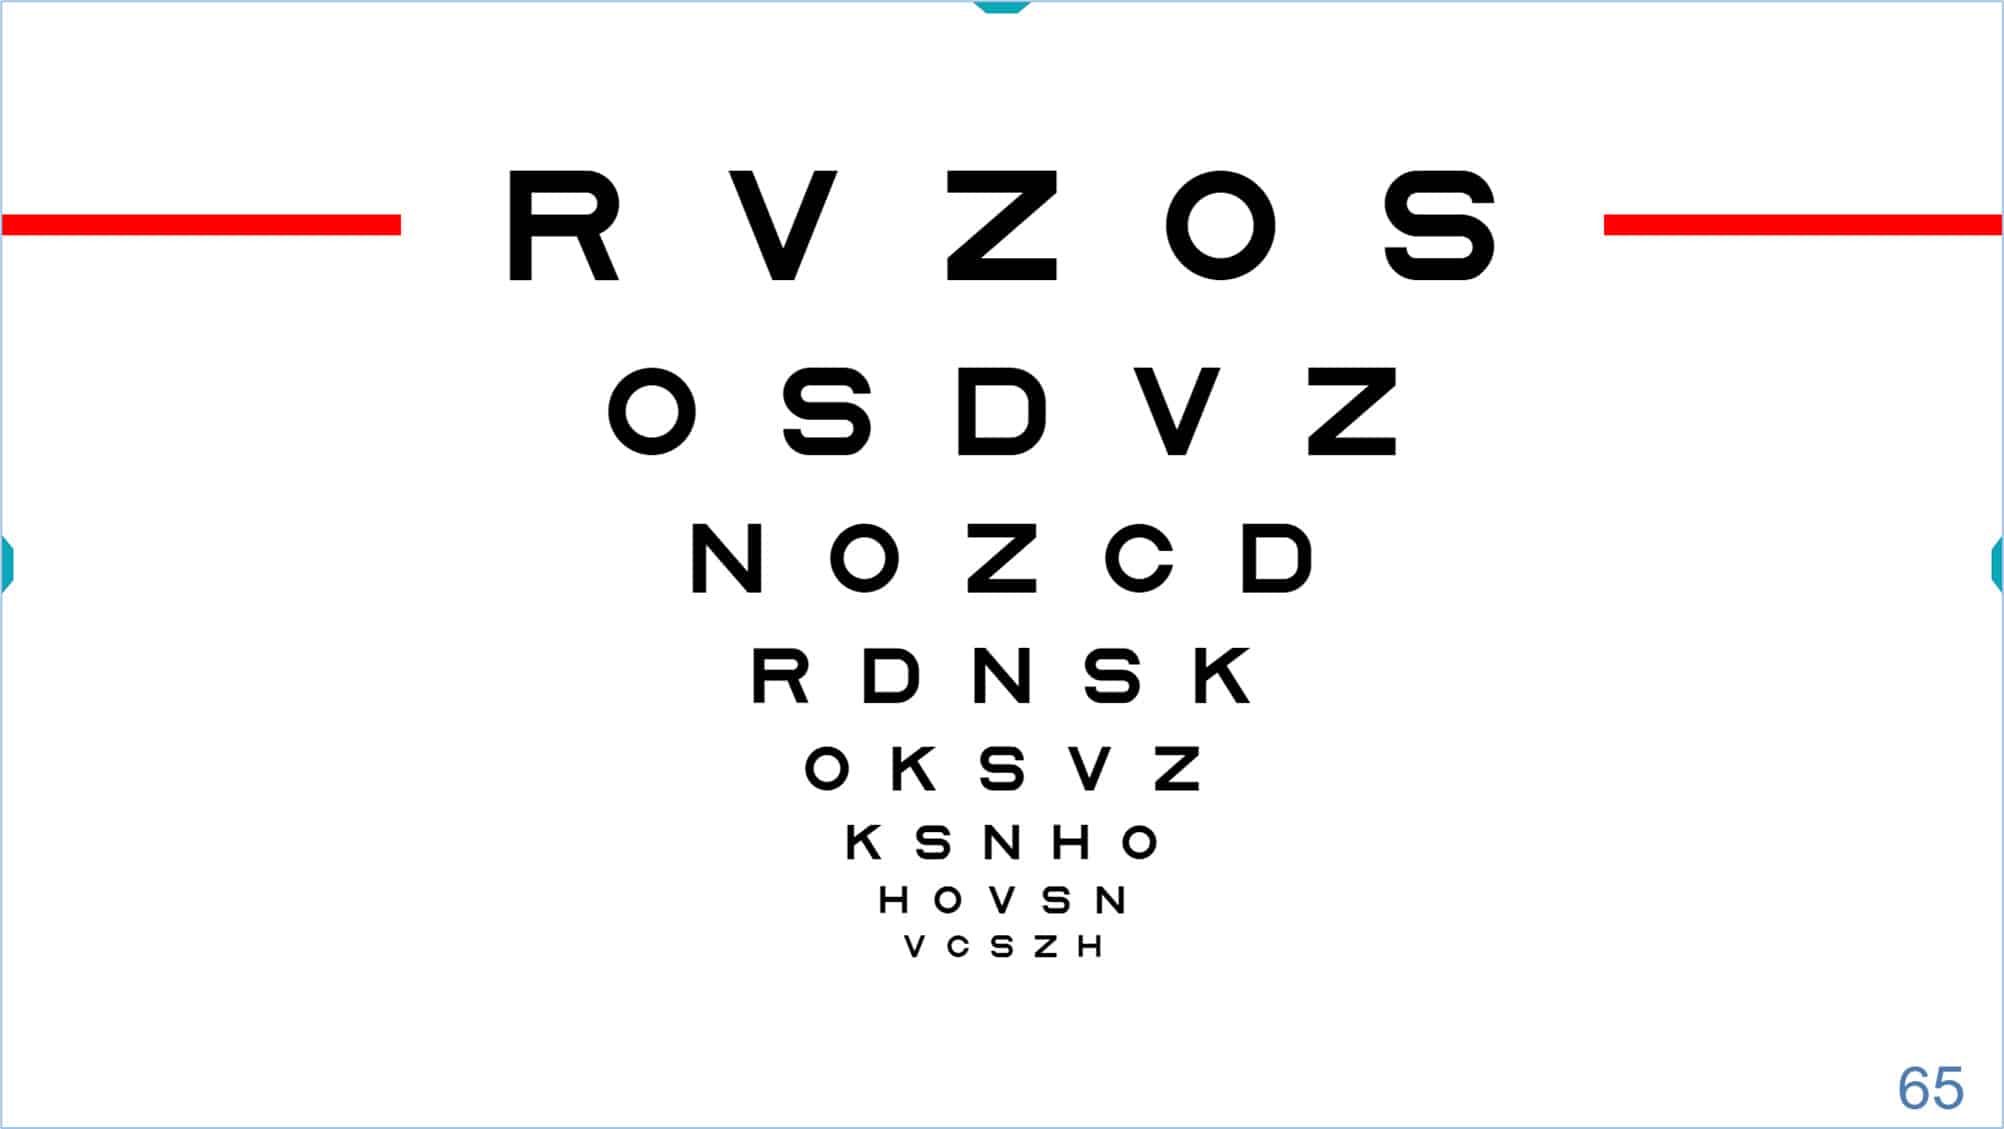
Similarly, if you have reached the upper row of the chart, you may continue to press the ↑ arrow and larger letters will appear. (Maximum letter size is explained below.)
 |
 |
The up ↑ and down ↓ arrows above are usually very accessible on all keyboards, especially on mini wireless keyboards that can also be used as a remote control.
Whenever possible, these red lines will be displayed on both sides of the indicated letter row. However, if the size of the letters and the screen limit the horizontal display, the red line will be shown just below the row in question.
Visual Acuity Notation
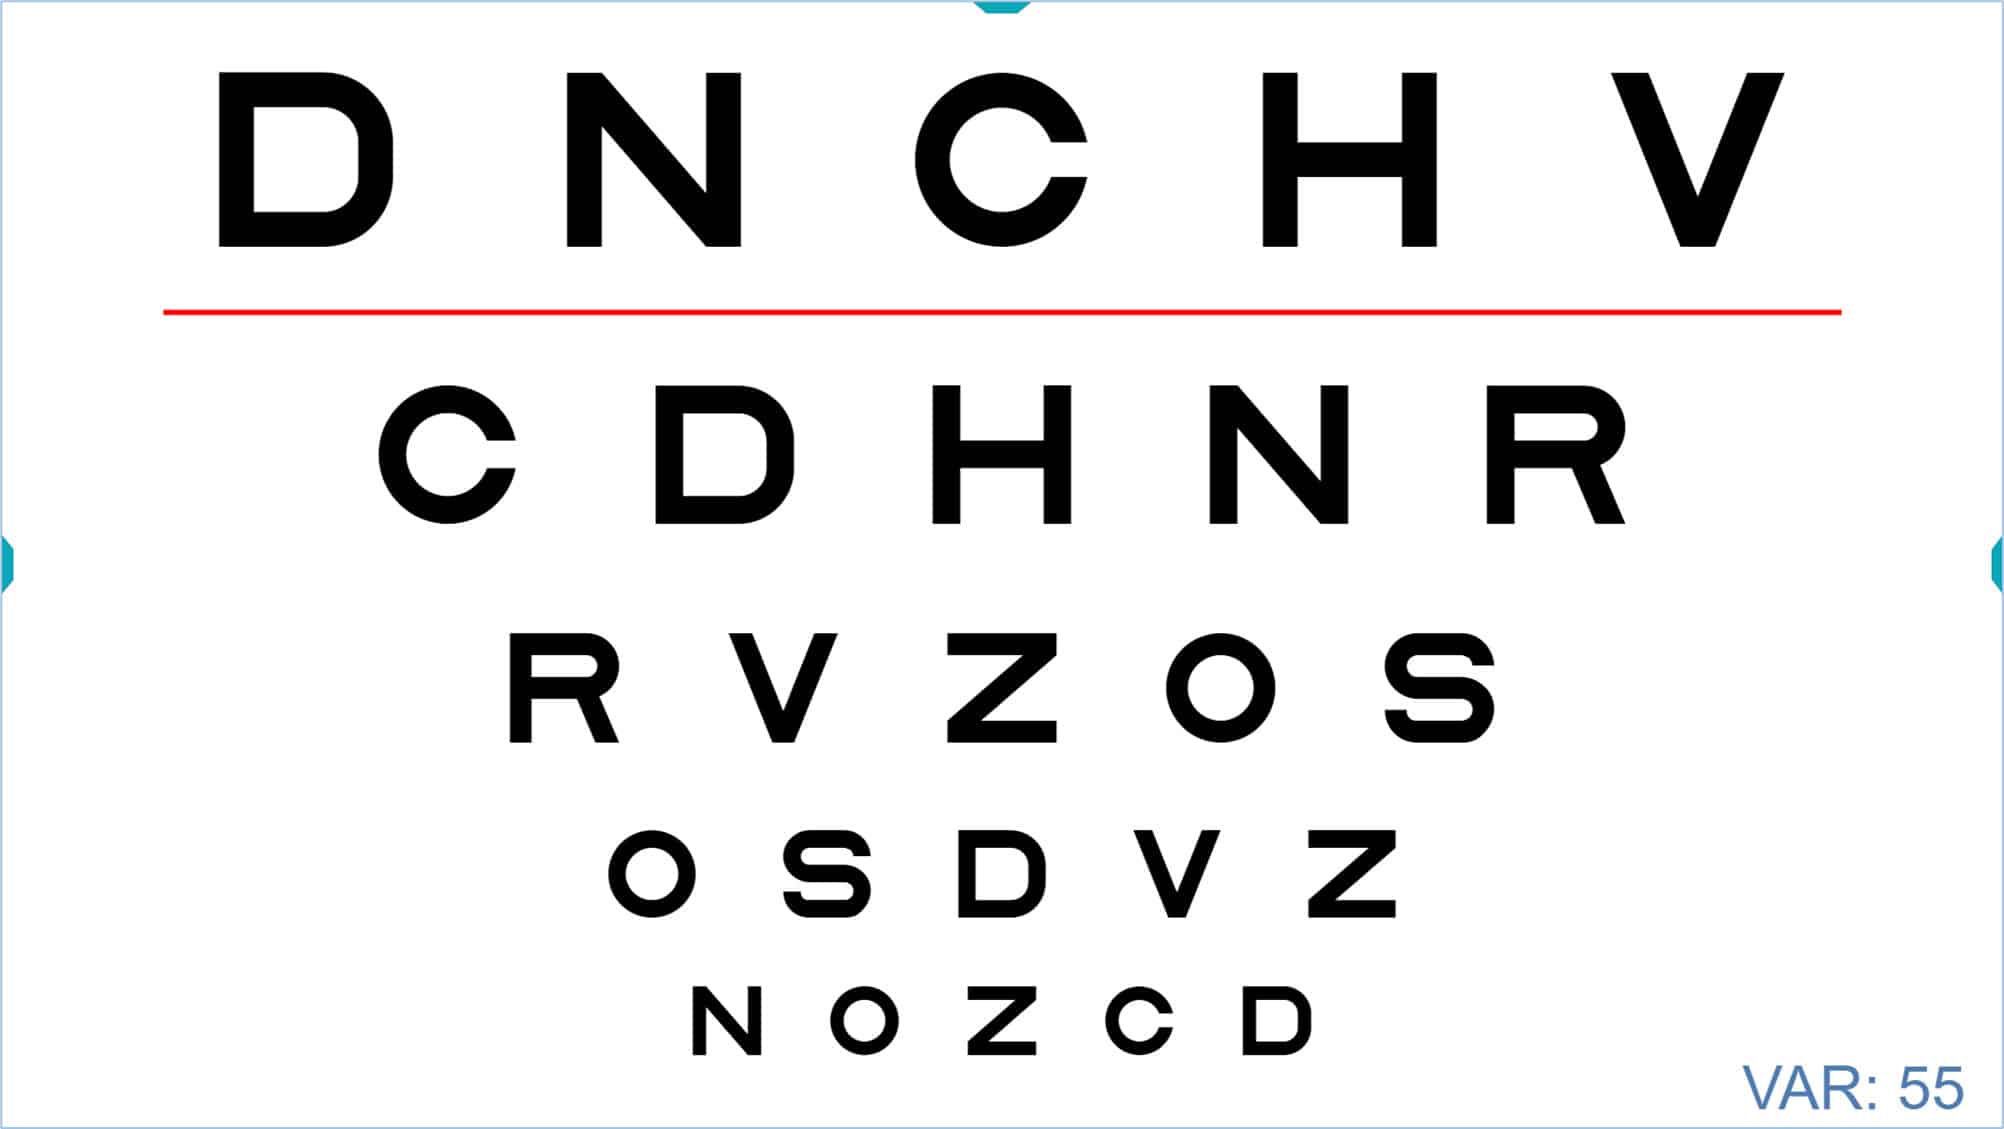
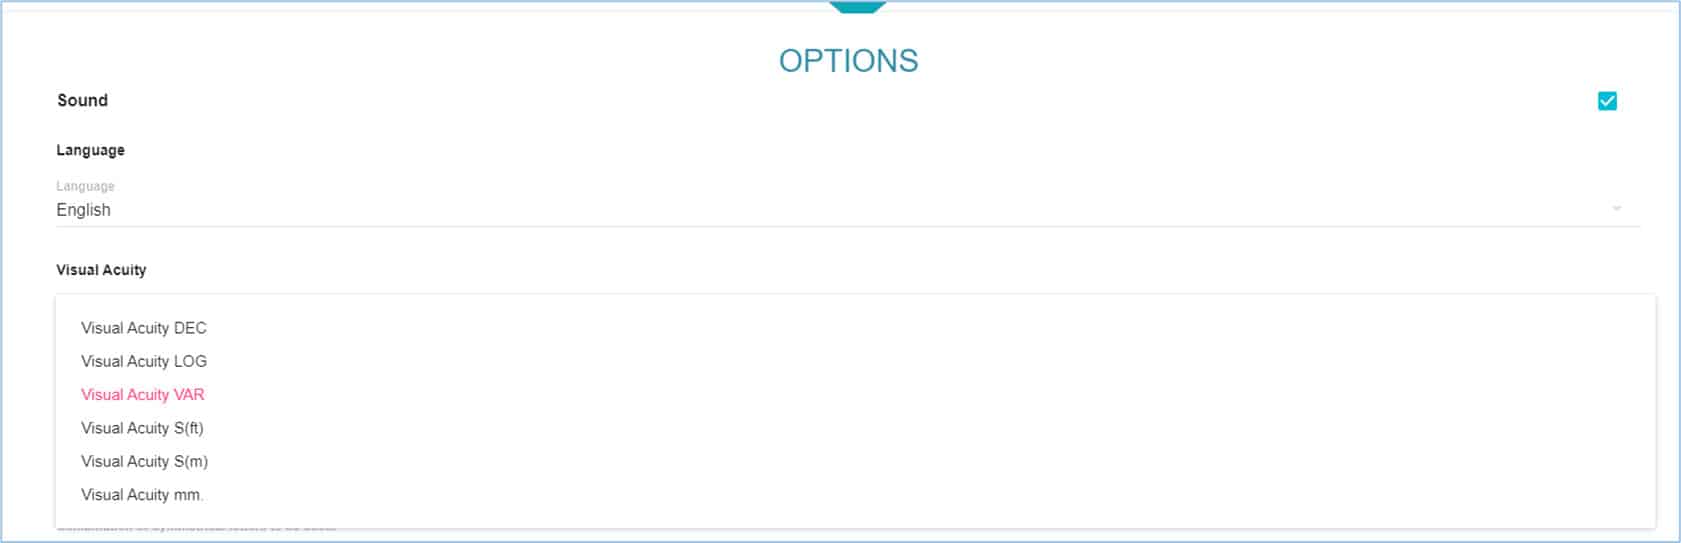
The acuity value of the selected row is displayed in the lower right corner of the screen. Acuity may be expressed as: VAR, Decimal, Snellen (in feet, which is the usual notation in the United States), Snellen (in meters, usual in UK), millimetres* (the actual height of the letter on the screen), “M” notation, and finally the logarithmic notation (log units). The units for the acuity value can be displayed by passing the mouse over that number. In the above image the VA is indicated in the initial notation VAR (VA Rating). To change the type of notation, repeatedly press the mouse on the numerical value of VA or the key “W” and the acuity value will change according to the sequence above. If you click once more, you will return to the VAR notation. Alternatively, these changes can also be made by pressing successively on the letter “W” on the keyboard.
Remember that we can choose the initial notation that we want in the setup menu, in the section “Options”.
* The size in mm of the letters allows you to verify whether optotypes are perfectly calibrated for the test distance. Measure the height of the letter using a millimetre ruler to verify your calibration. If the error is greater than 2%, recalibration is advised.