Optonet Vision Unit Documentation
Please note that this User Guide is being currently updated; new sections will be added shortly.

4.4.4.Isolated Optotypes (Rows, Columns and Letters)
Rows
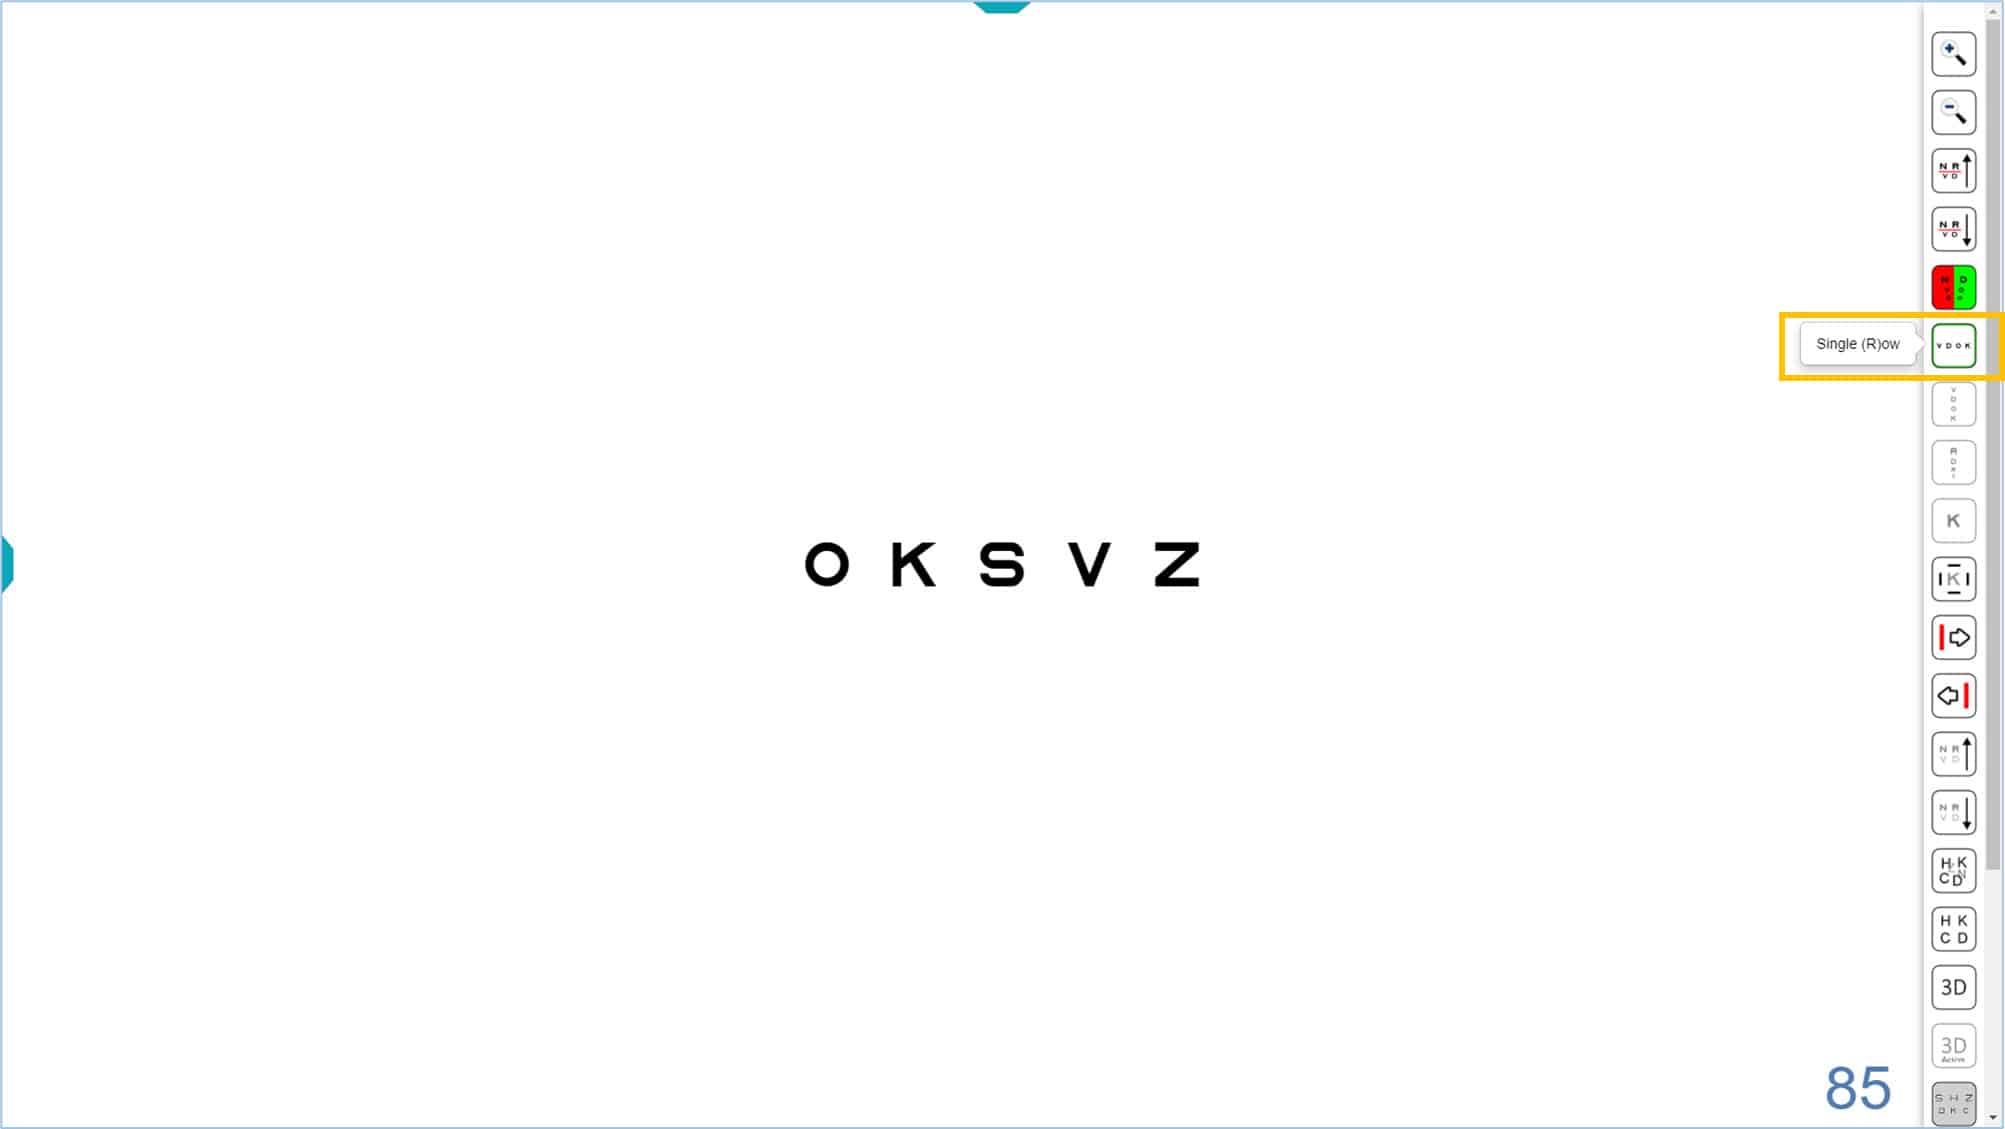
The program has a very useful function that allows the user to isolate a horizontal row in any of the VA charts. This function is used to reduce crowding from neighbouring rows, and to help the patient concentrate on the desired row during a subjective refraction.
To isolate a row, press the tools menu icon or the “R” (or “Enter”) on the keyboard. The displayed row always defaults to a VA of 85 VAR (0.5 Dec, 20/40, 6/12), as shown in the lower right corner of the screen.
Once the row is isolated, you may change its size by clicking on the icons of the tools menu. Alternatively, type “+” or “-”, or use the arrow keys to increase (up arrow ↑) or decrease (down arrow ↓) the size. The updated acuity value will be displayed in the lower right corner.
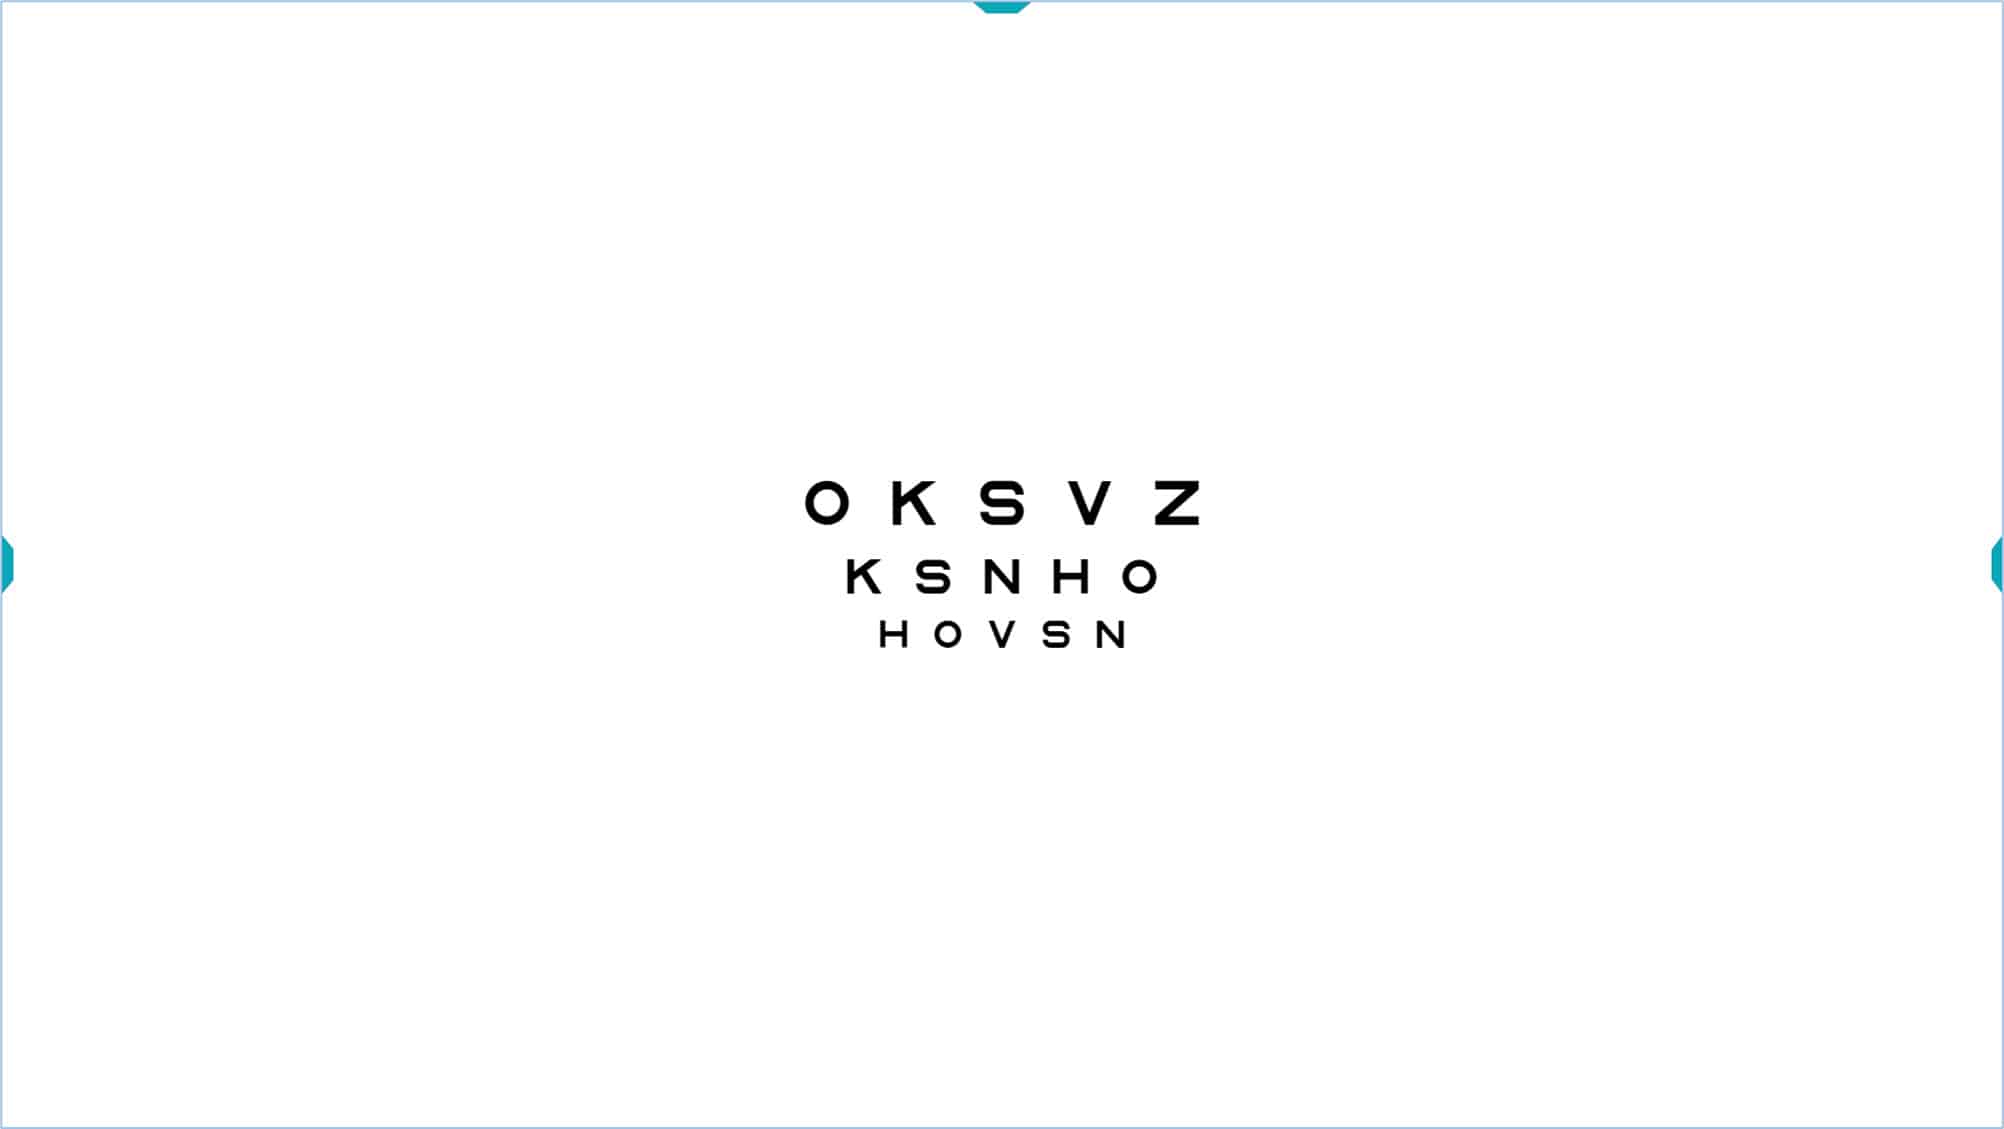
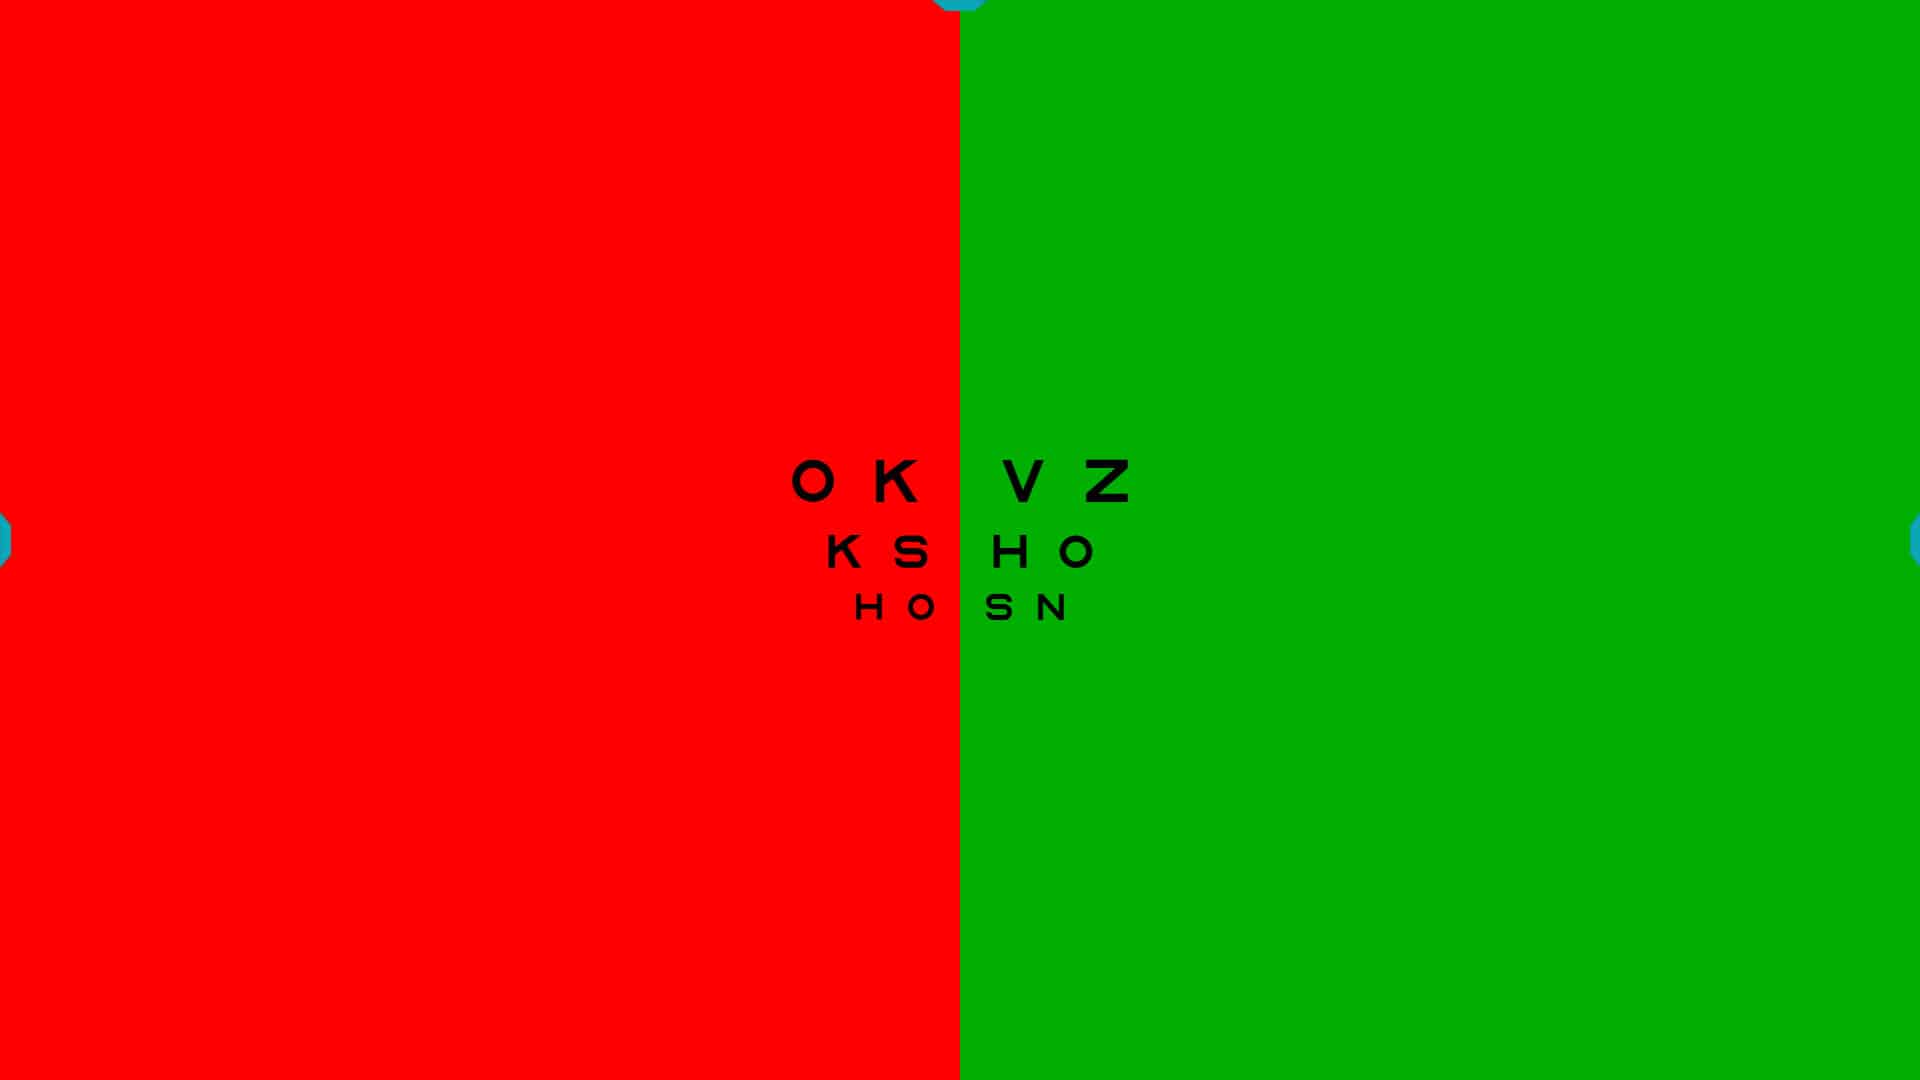
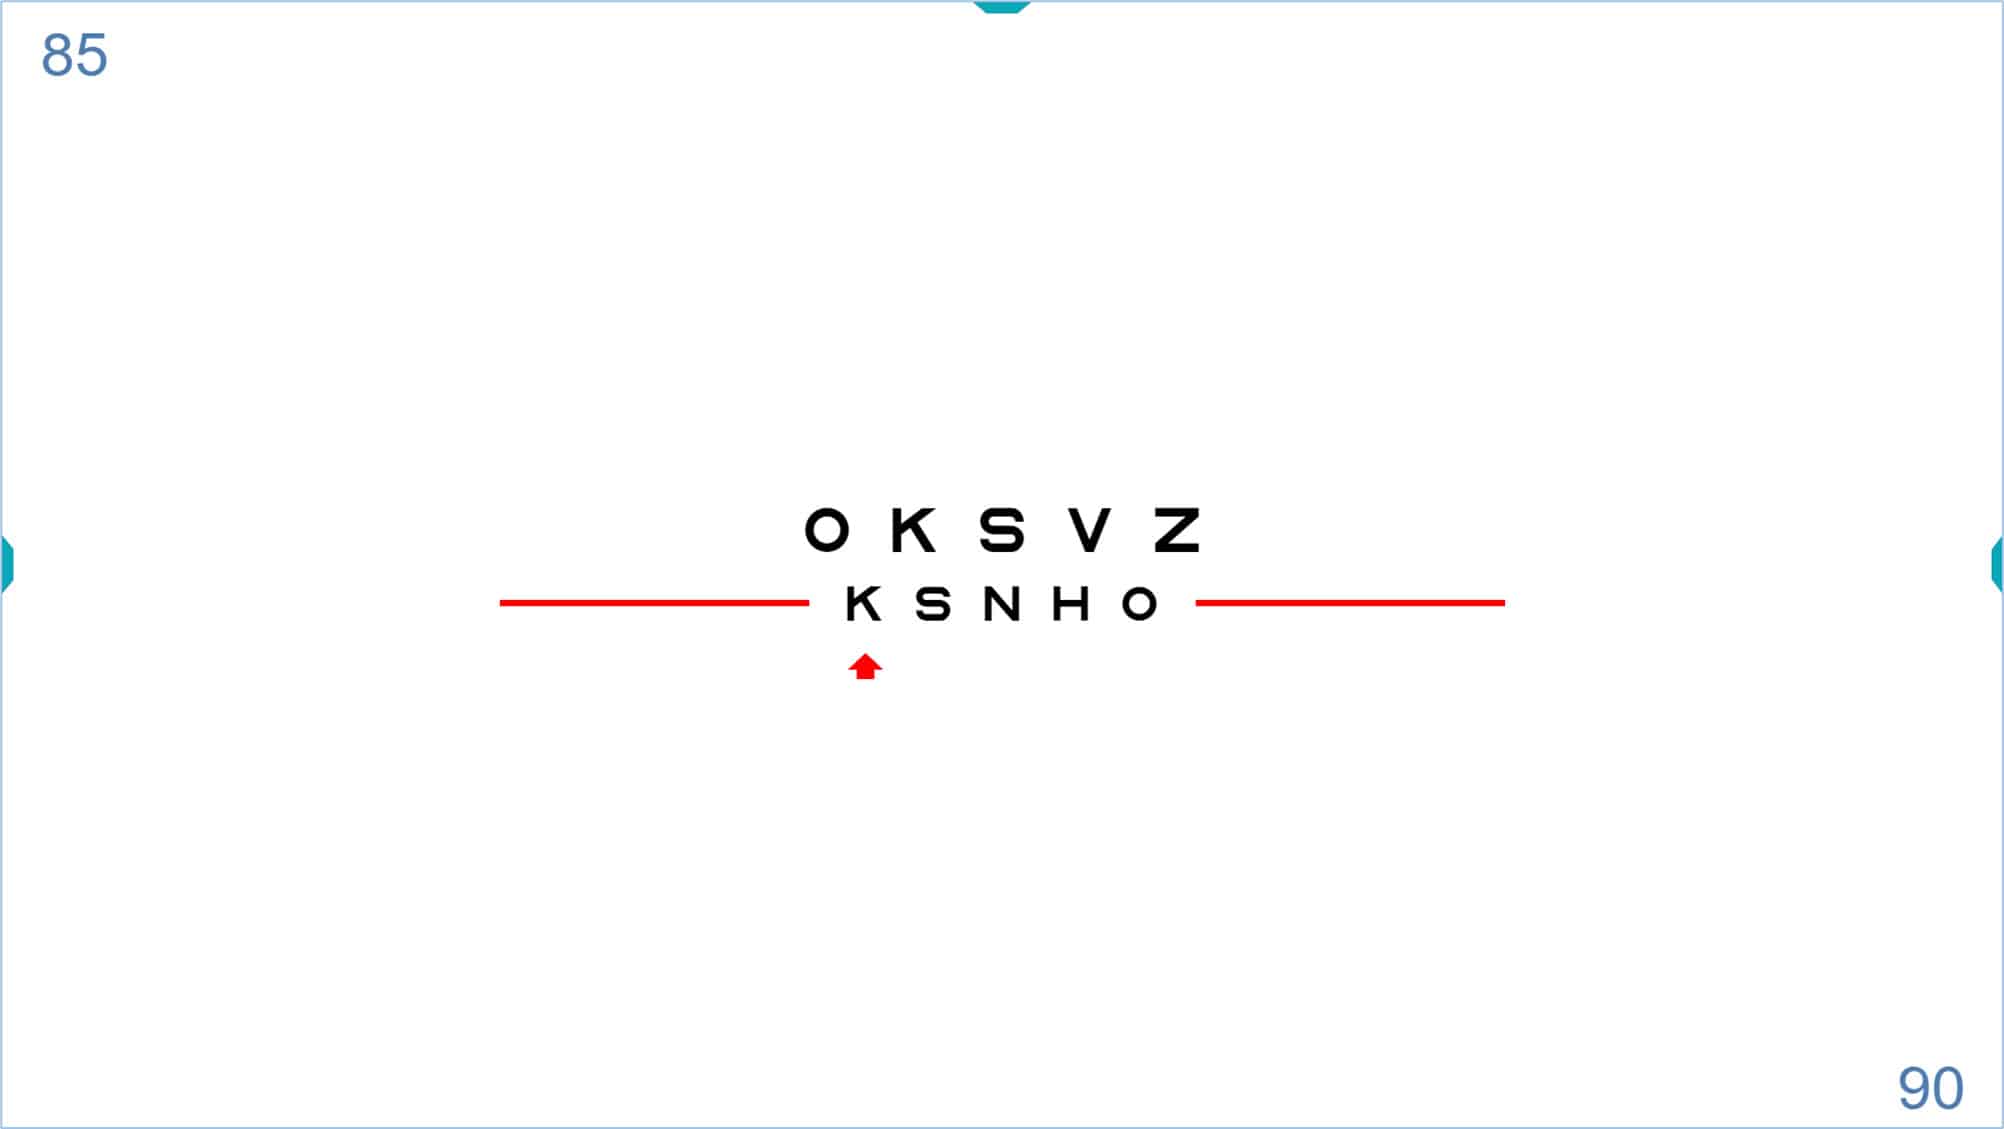
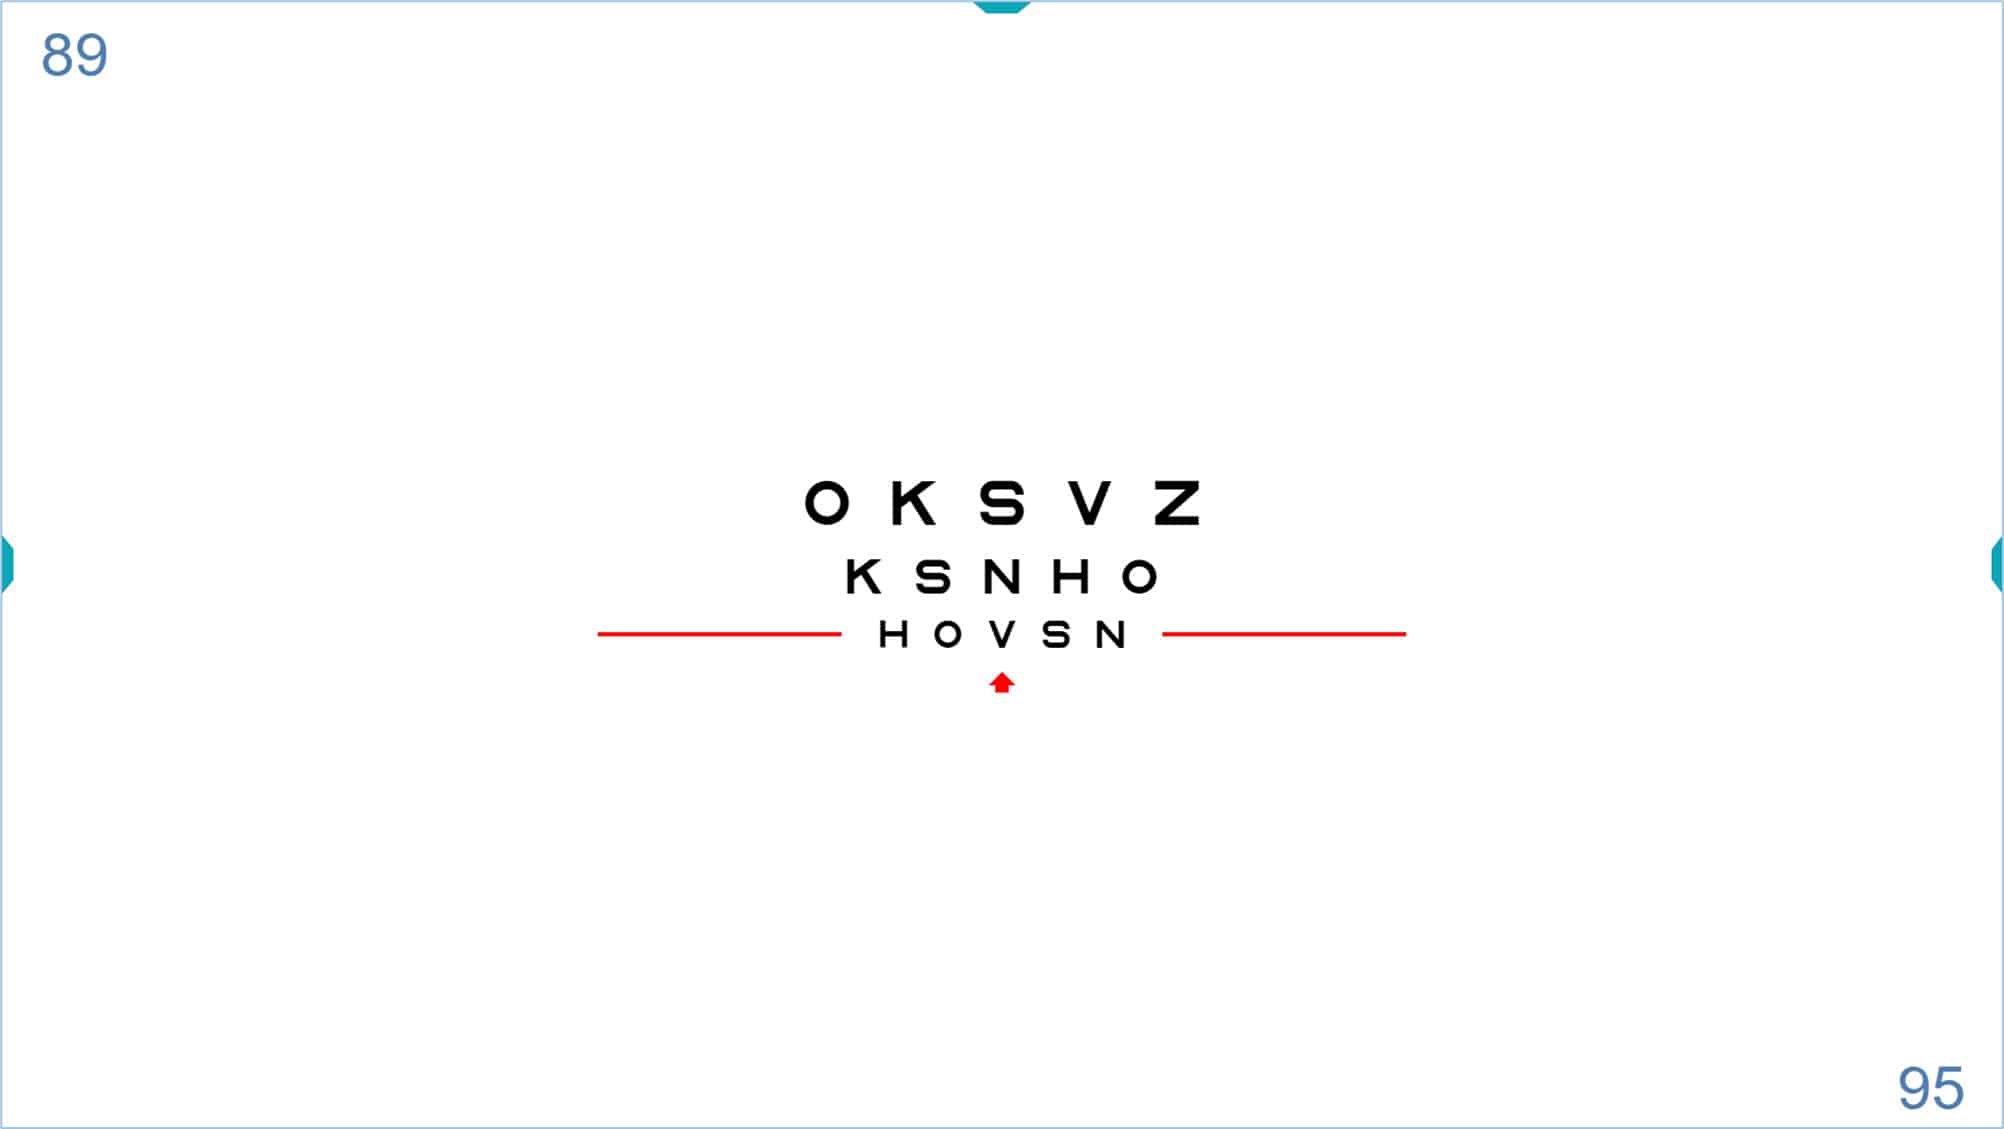
The single row icon has another very interesting function. If you click the icon again (or type “R”) a new line of smaller letters is added underneath (and the larger row is maintained). Each time you click the row icon (or type “R”) a new smaller row appears, until you fill the screen. This strategy allows you to “isolate” (or indicate) any number of lines, and then resize them using the keys (“+” or “-”) or indicate a different row using the ↑ or ↓ arrows.
This function can speed up comparisons of acuity with and without correction, or when adjusting power to find the “best sphere” during subjective refraction (to verify that the patient is able to read a new line as the spherical power is increased).
In general, the final acuity measurement should be taken with the chart fully displayed. Otherwise, falsely high acuity values may be obtained from isolated letters or rows due to reduced contour interaction and crowding. Different testing conditions can change the threshold, making it difficult to compare results with other visits or professionals. In addition, it is always advisable to encourage the patient to try to guess the letters when they are near their acuity threshold.
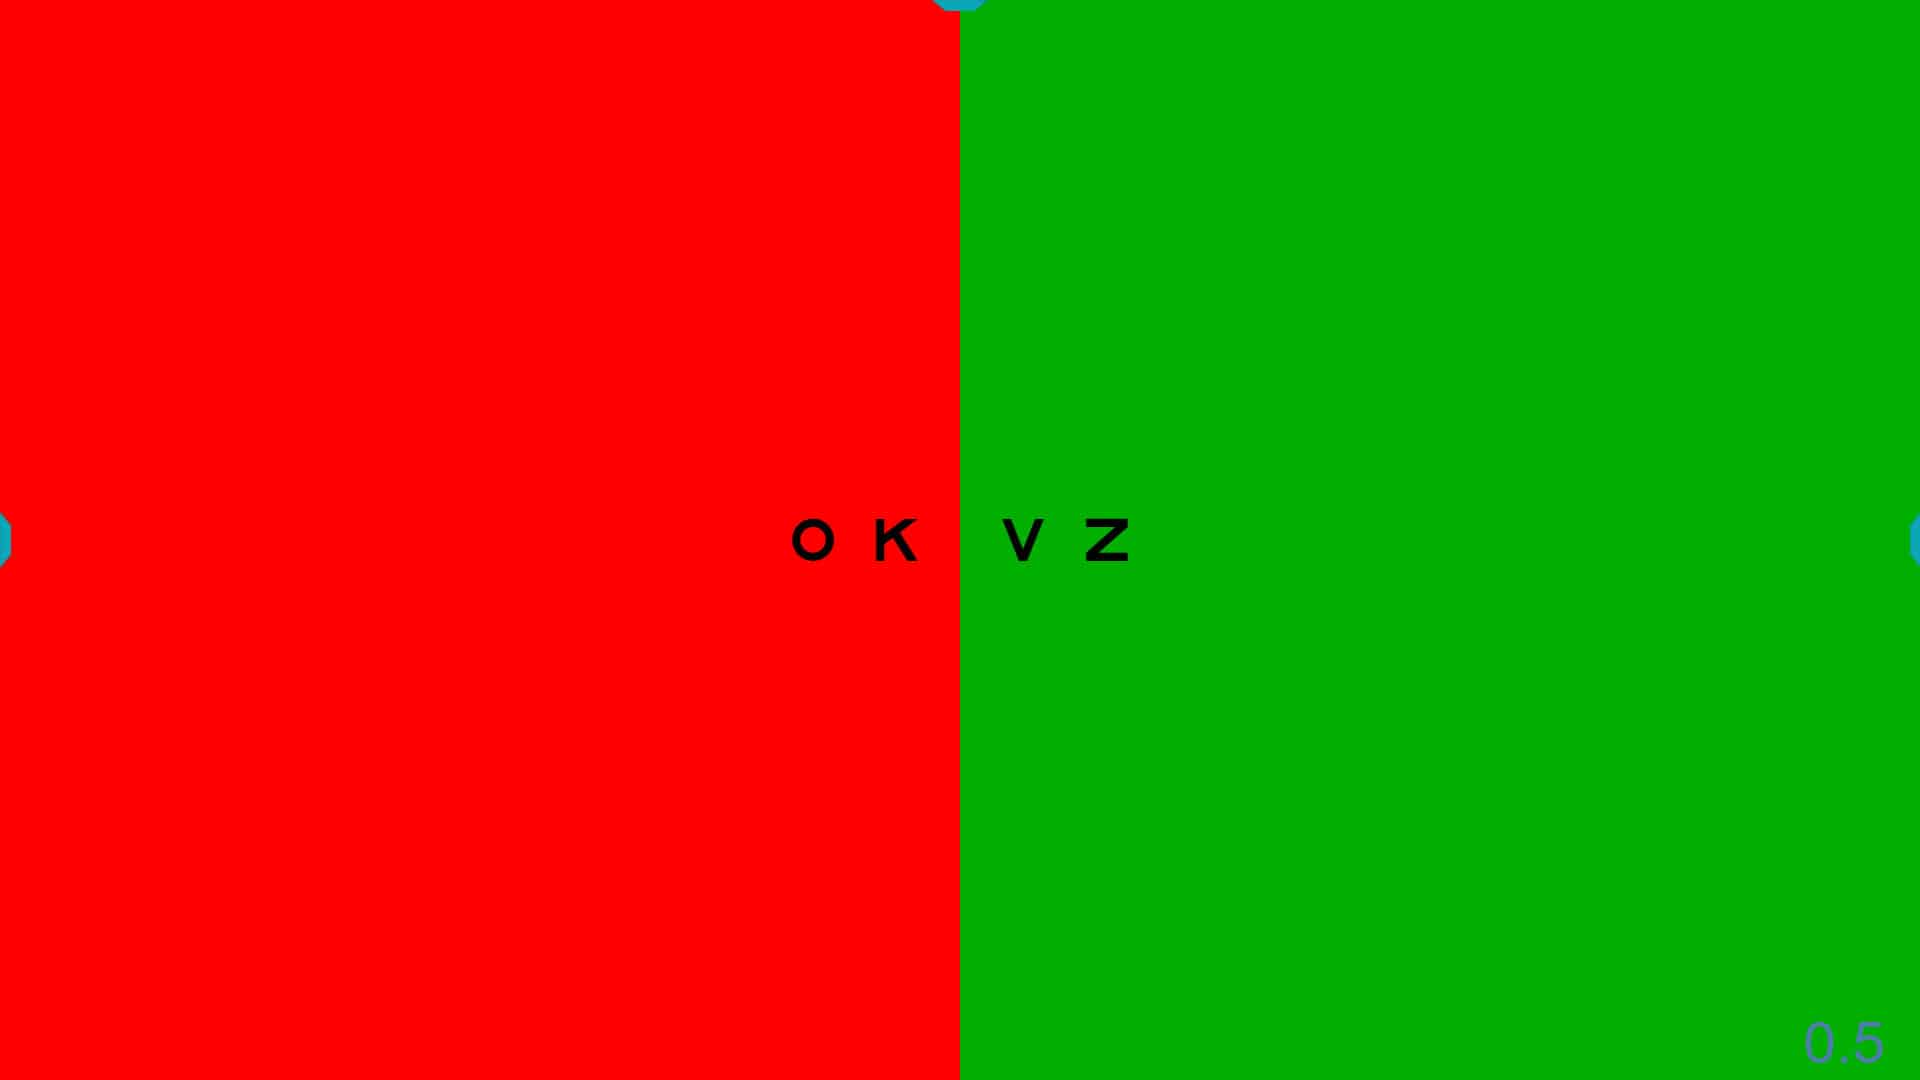
The bichromatic mask can also be applied to the selection of rows, as shown below.
 |
 |
Contour Interaction
At times, it may be useful to measure acuity obtained with a row of letters surrounded by contour interaction bars, for example to detect the presence of amblyopia in younger children or to compare to normative values obtained with similar targets.3
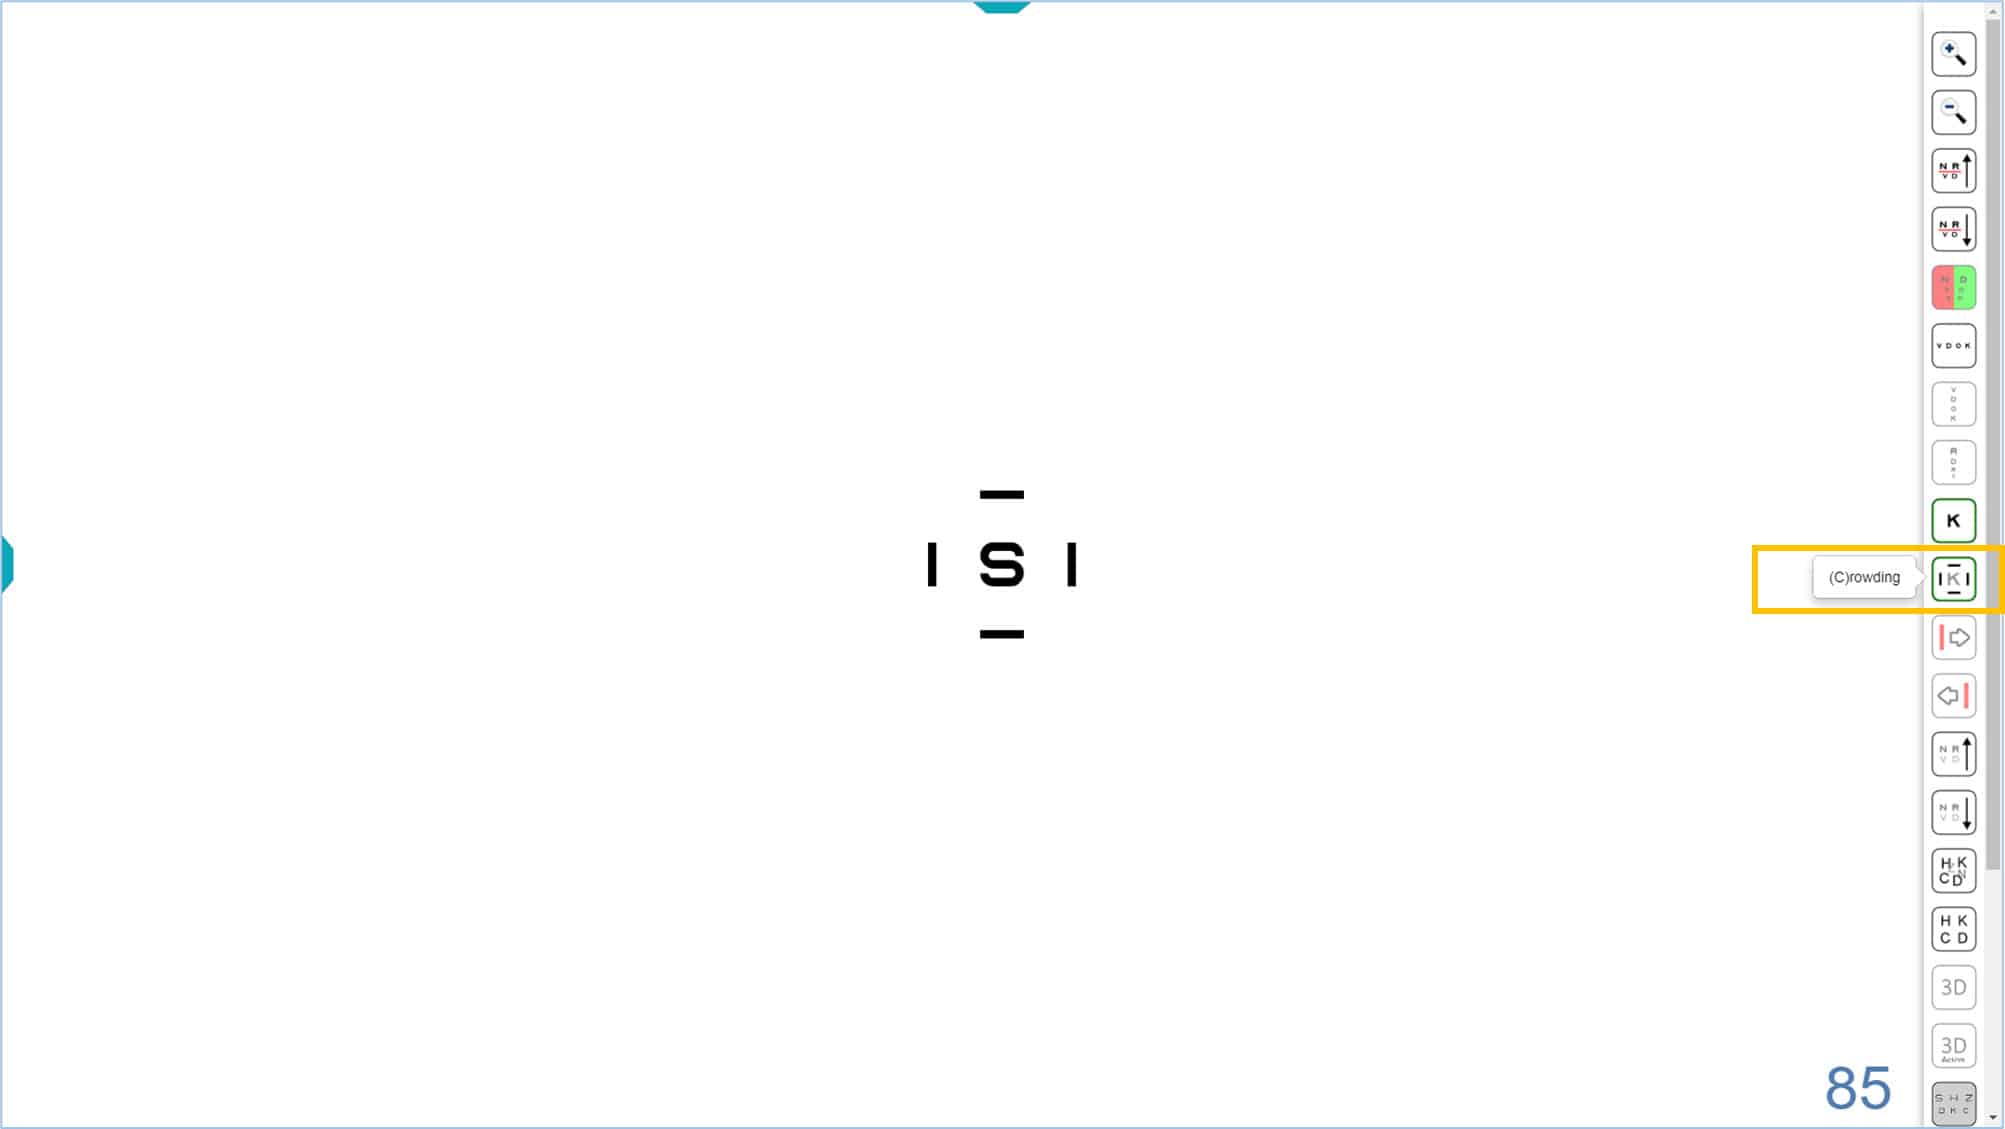
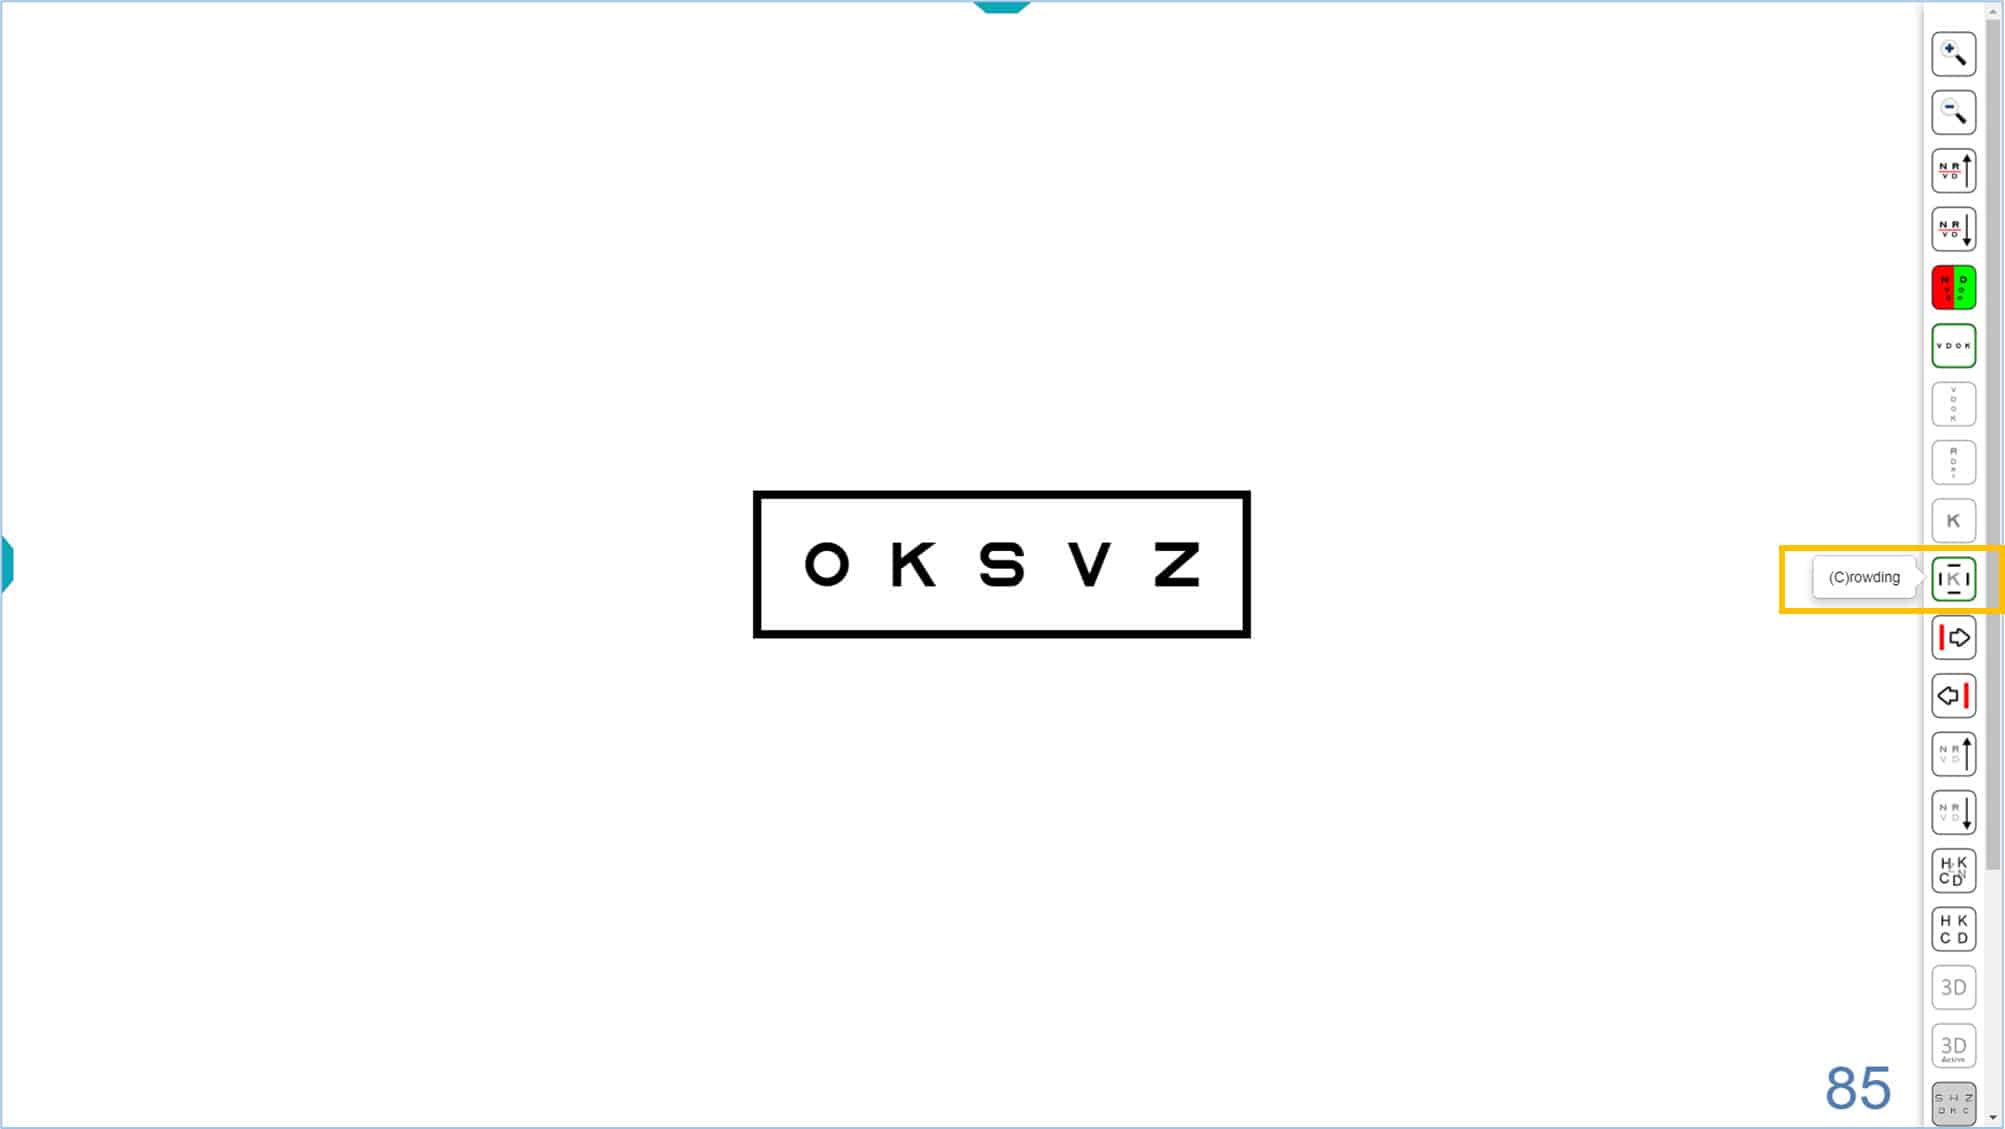
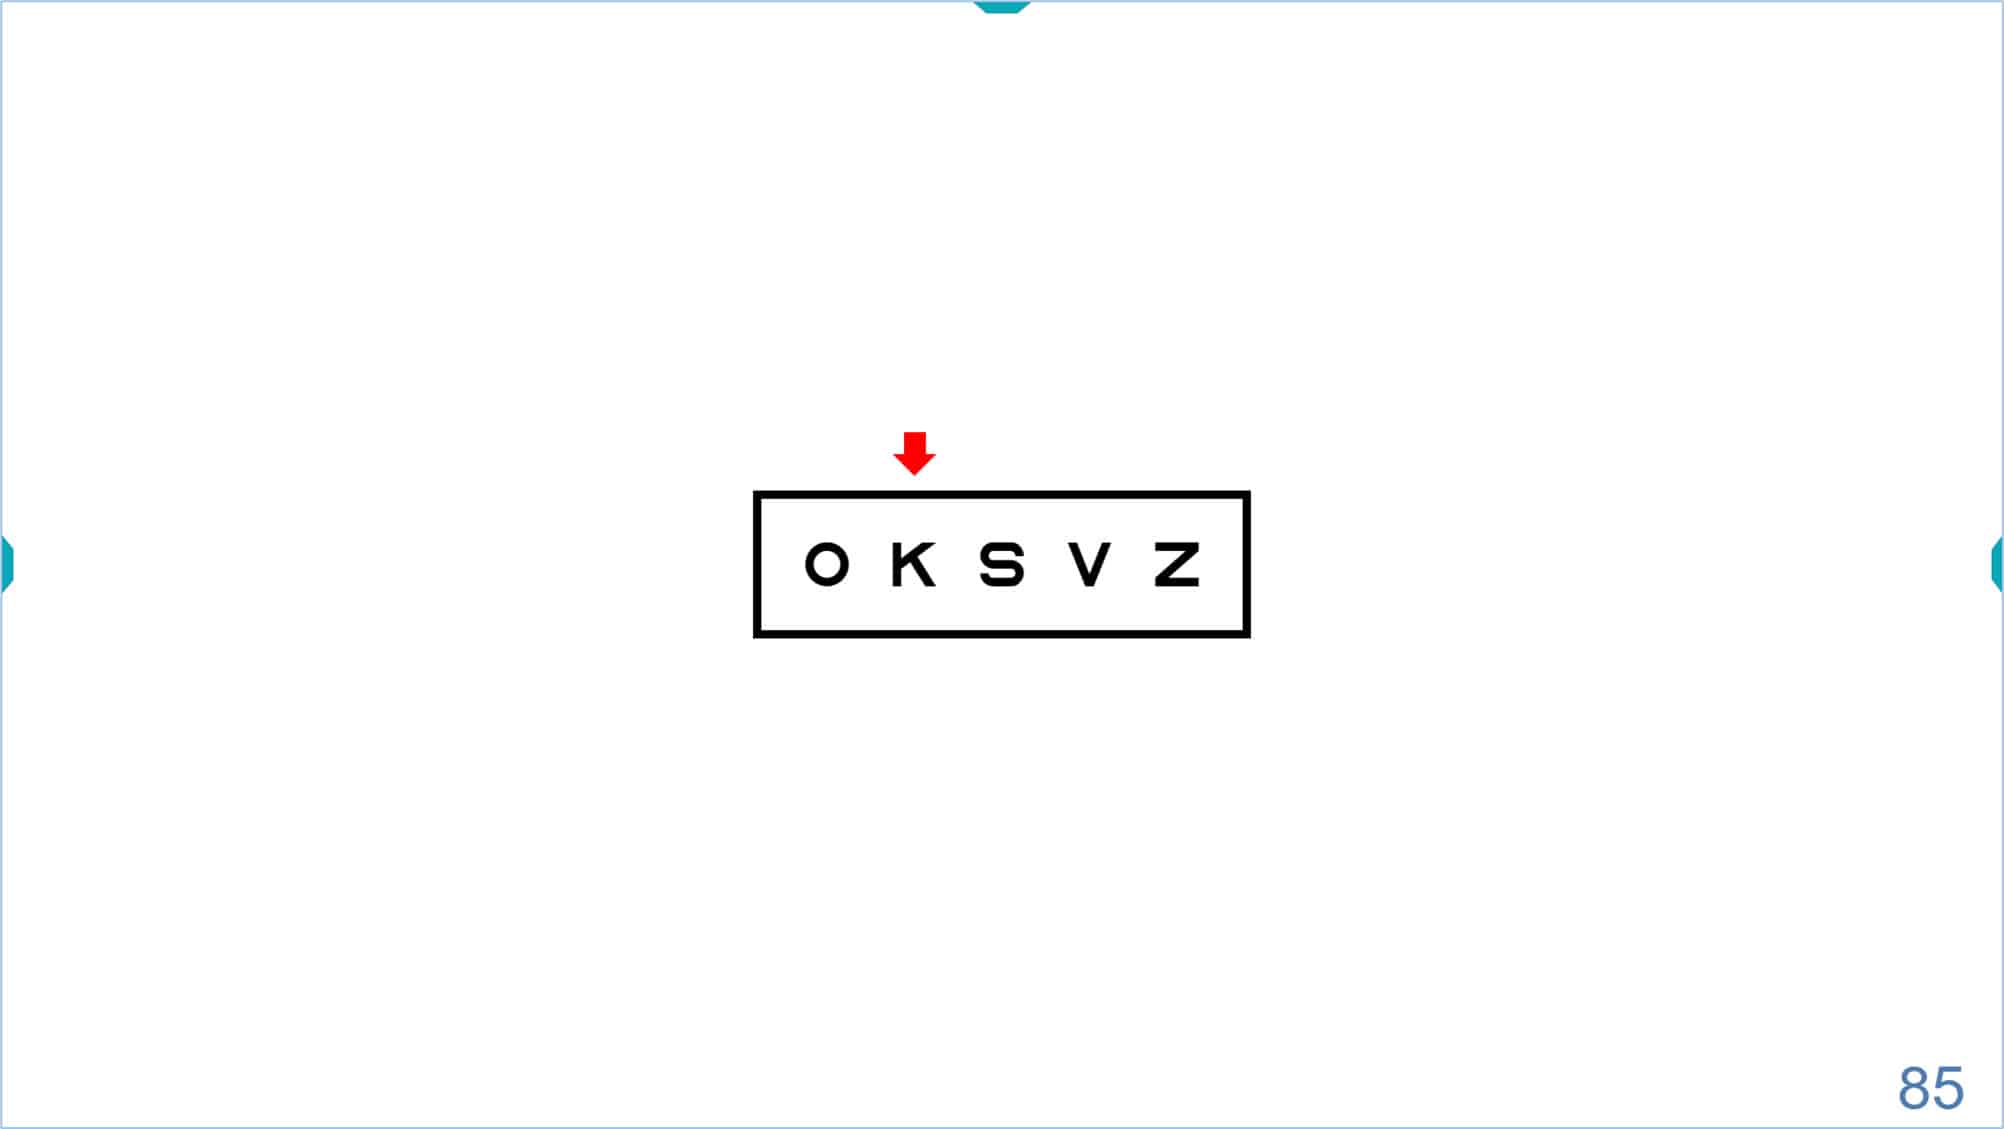
Using a single row of letters is advised with young or amblyopic children to prevent them from “getting lost” while reading the chart. To prevent falsely high acuity values, the line can be surrounded with a box that increases the contour interaction without distracting the child by showing additional letters. To display the box, click the “crowding” icon (see next figure) or type “C”. The rectangle has a stroke width equal to that of the letters or symbols shown, and is separated from the letters by a distance which is equal to the height of the letters or symbols. The separation can be adjusted to one half the letter height, which increases the contour interaction, by using the “setup” options.
To indicate letters
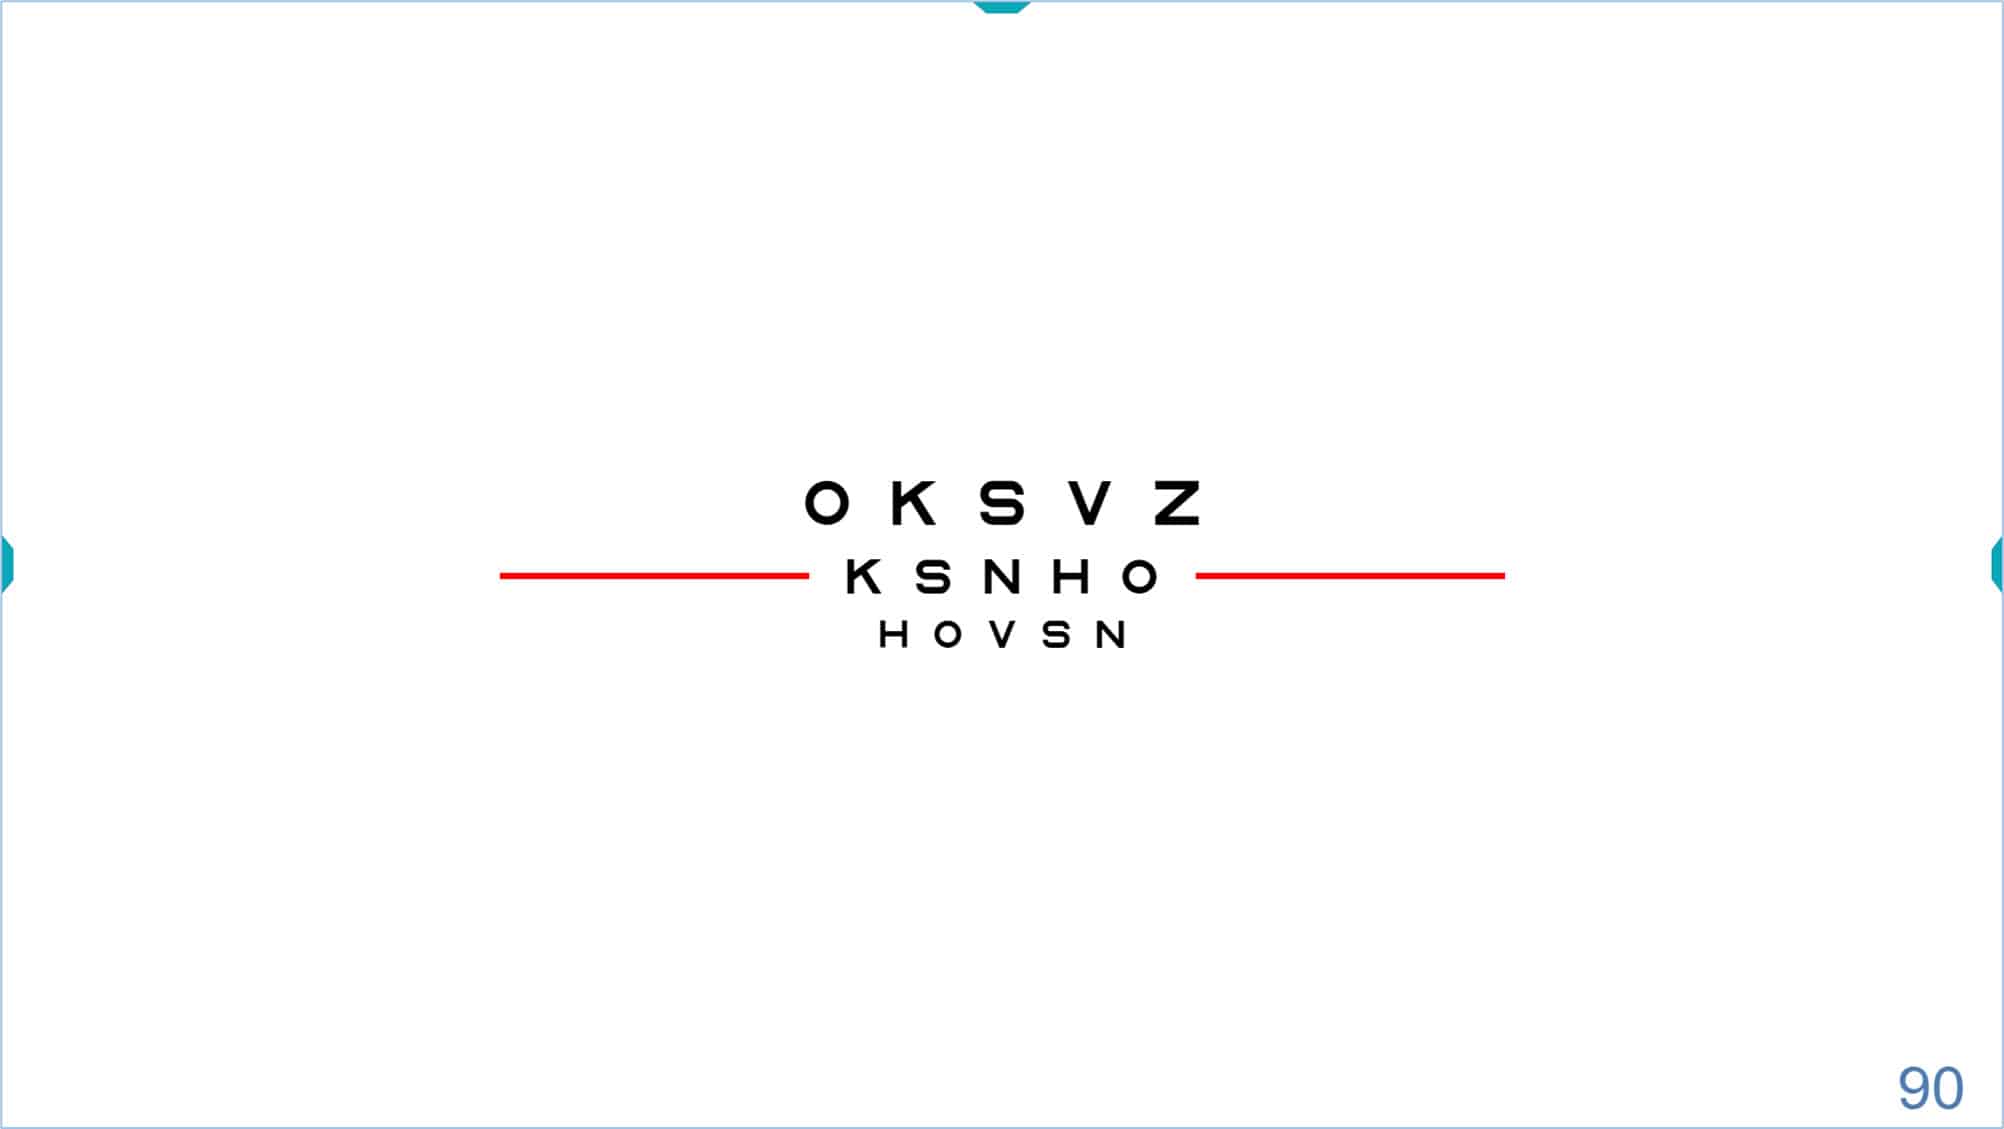
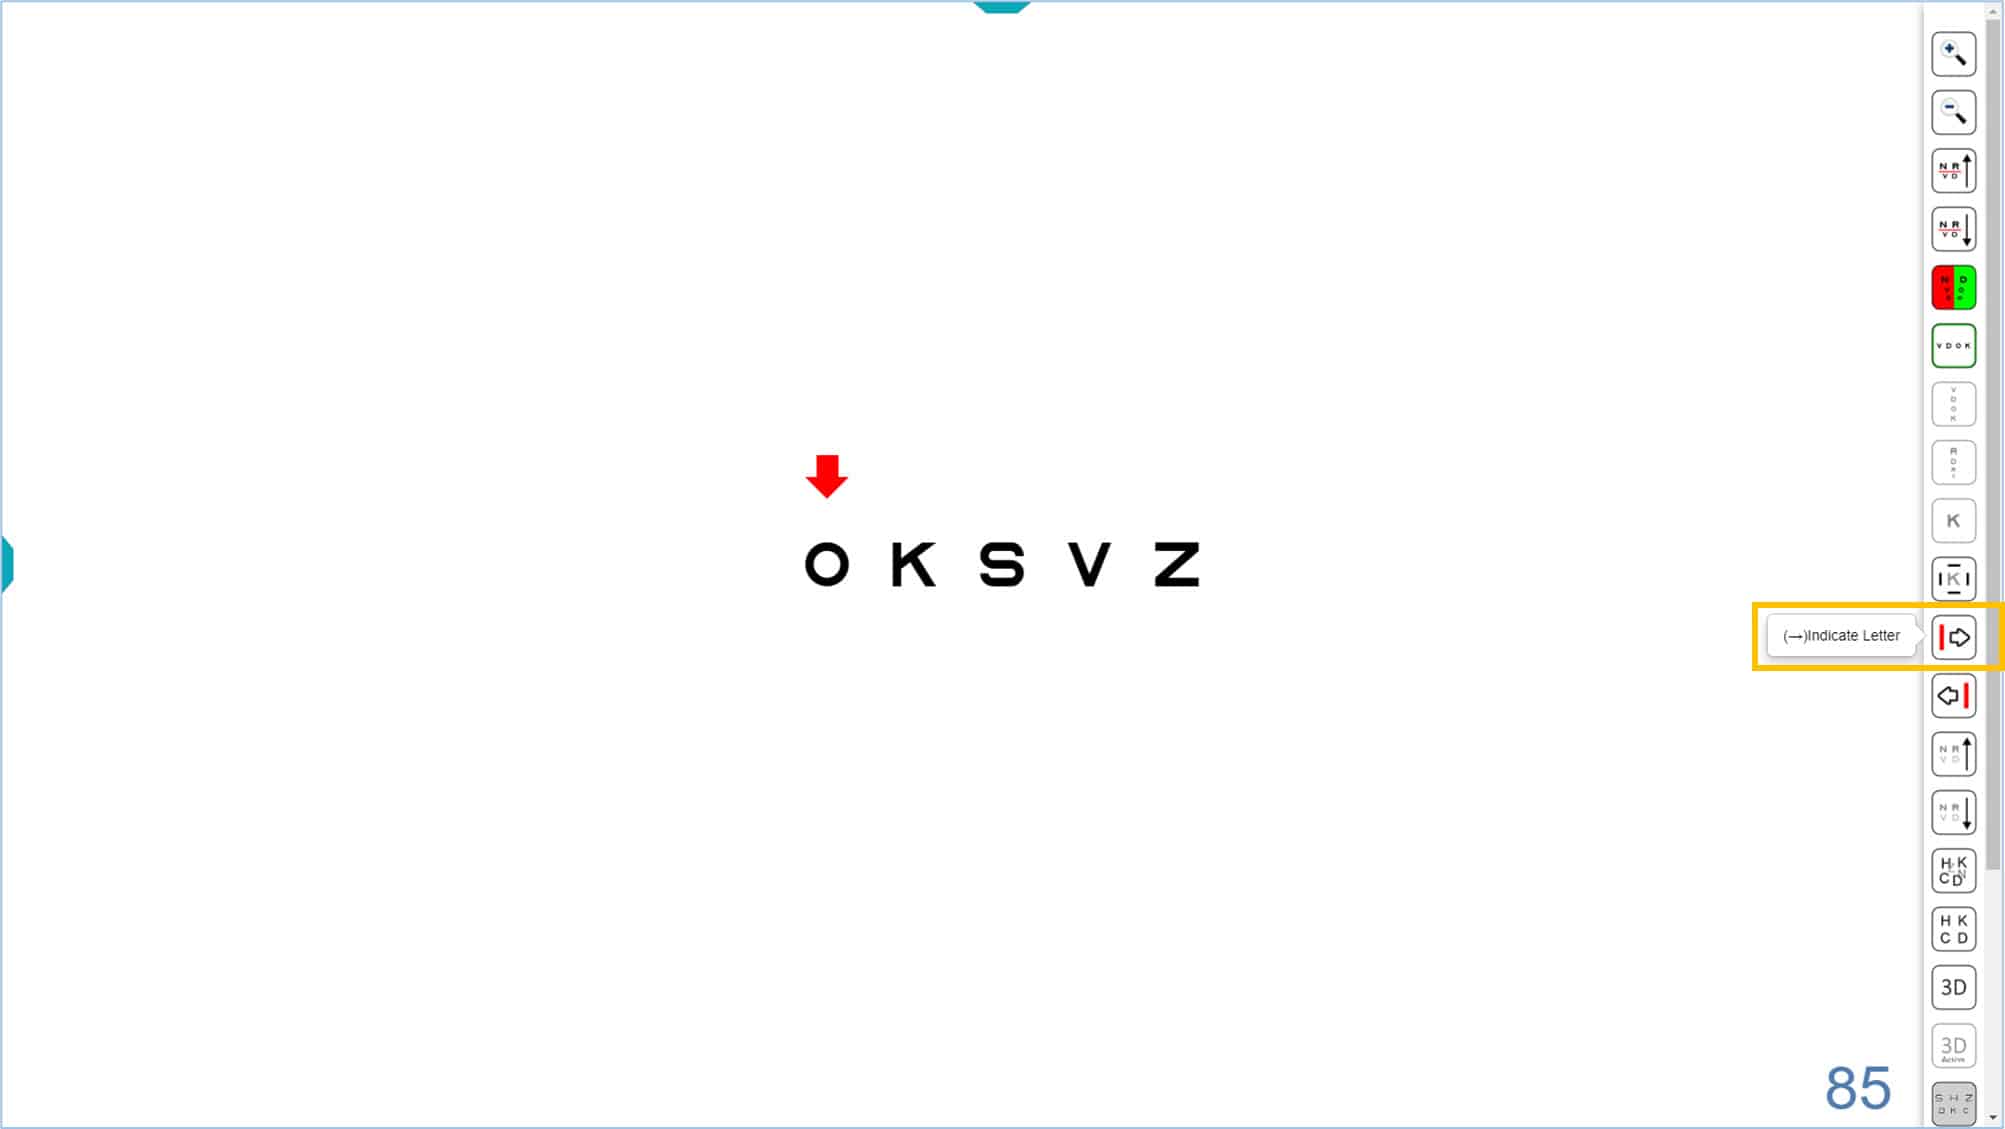
Sometimes it is necessary to indicate single letters, especially for young or amblyopic children because they skip or miss letters in chart or line display. The program allows you to display a red arrow to indicate any of the 5 letters in a row. Click on the right → or left← arrow (or on their icons) to display the red arrow. By pressing repeatedly on these keys, the arrow can be moved from side to side. Pressing again at the end of a line will make the arrow disappear.
The red arrow can be used with an isolated row of letters, and also during the automatic calculation of VA (See VA Testing Protocol):
The red arrow can also be useful for measuring VA in children with symmetric letter optotypes in isolated rows with contour interaction bars, which is the test used for the VA Percentiles Curves.3 The process to change the size of the letters (use ↑ or ↓ arrows) or the position of the red arrow (use → or ← arrows) is very simple. The arrow keys are very easy to handle on the mini wireless keyboards, since they are very accessible.
We strongly urge that parents use this fun and simple website animation https://optonet.co.uk/practice-visual-acuity/ prior to the exam so that their young child has plenty of time to practice identifying the letters before the office visit. In this way, the child will be able to succeed early in the process and be more relaxed and confident for the rest of the exam.
Columns
The program also allows to isolate a column of same-sized letters by clicking on the tools menu icon or typing the letter “C”. The default letter size is 85 VAR (0.5 Dec, 20/40, 6/12). (The acuity value appears in the lower right corner of the screen).
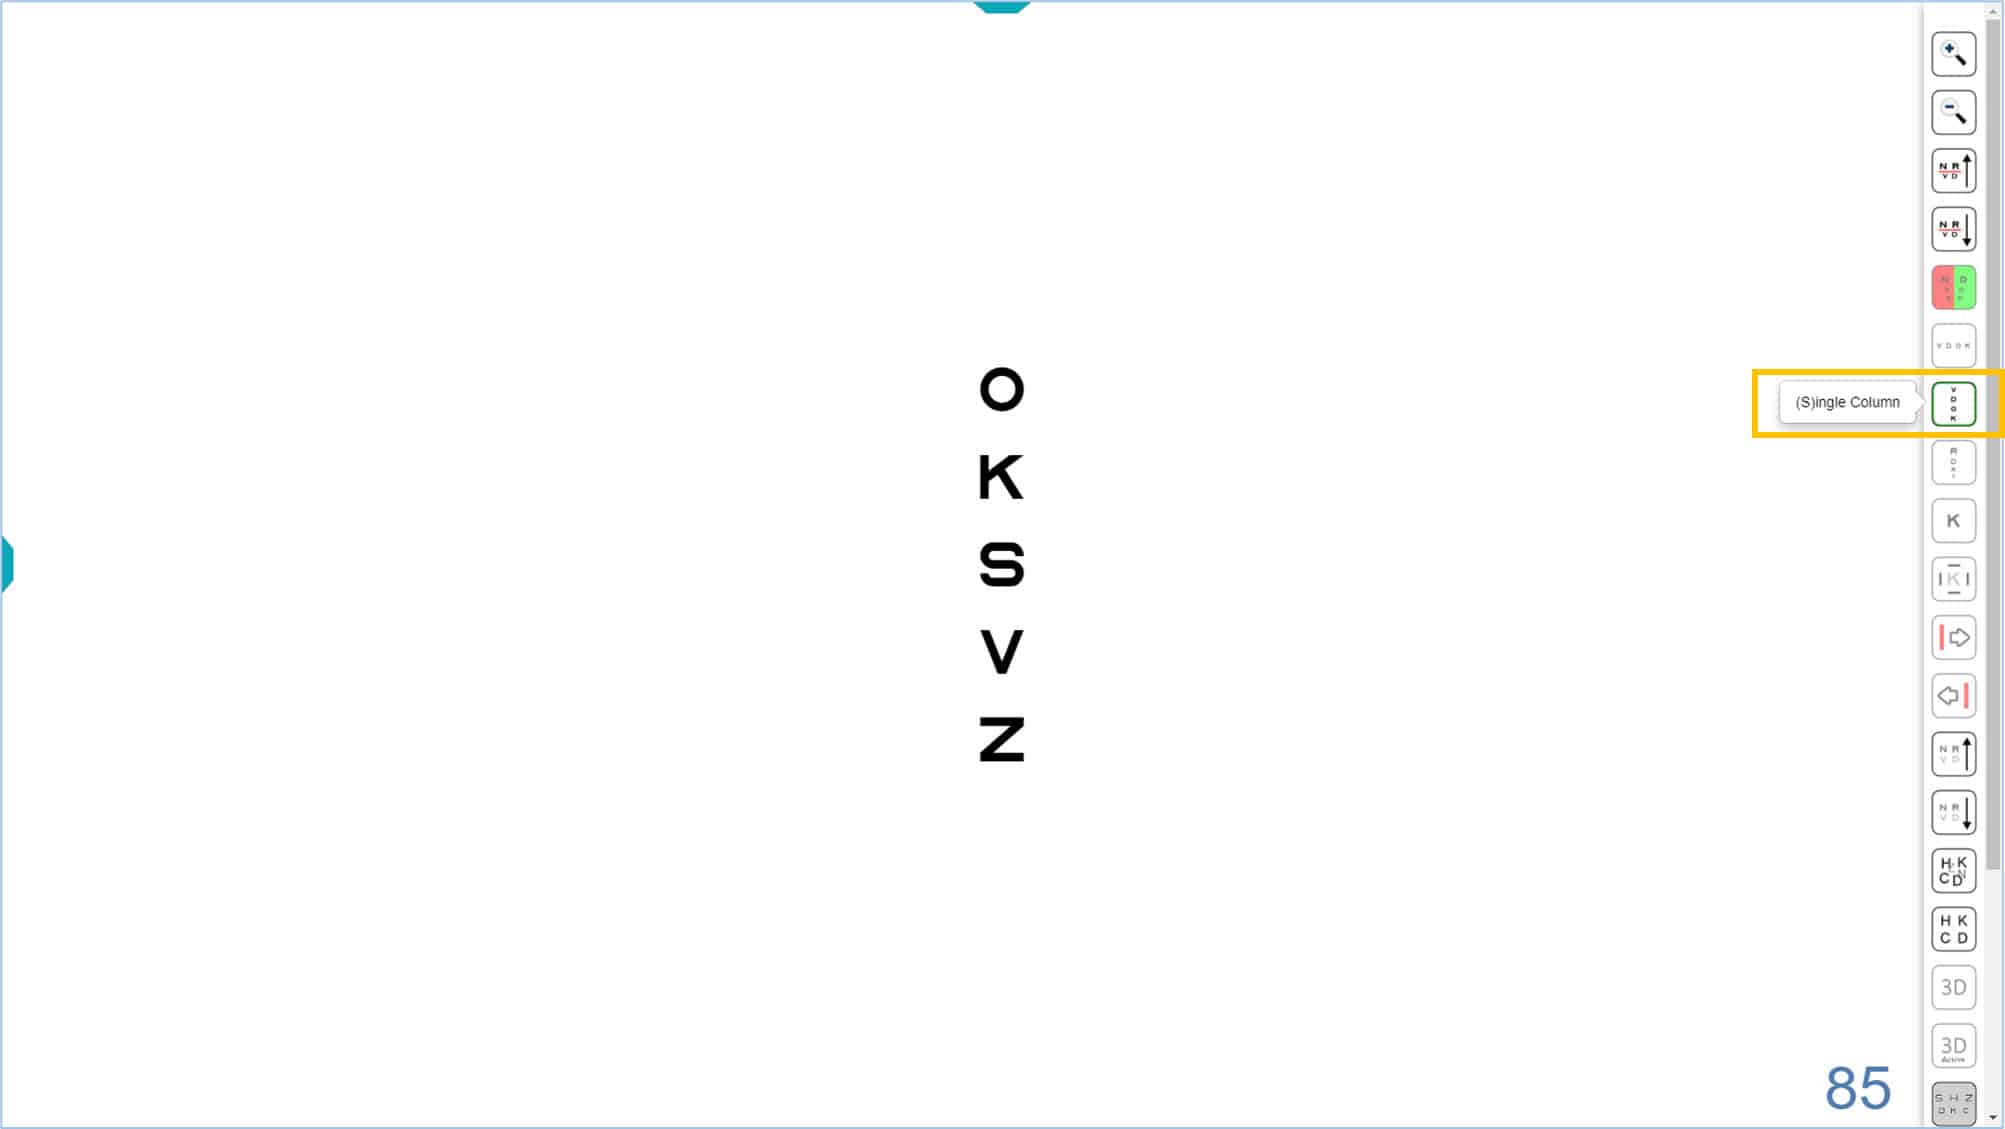
Once the column is isolated, we can change its size by clicking on the tools menu icons, or using the keyboard shortcuts (“+” or “-” keys, or up ↑ or down ↓ arrows). The acuity value will be updated in the lower right corner.
This column of letters could be used, for example, for the measurement of horizontal vergence at distance, or to measure horizontal phoria using von Graefe’s technique. (See binocular vision section for additional tests of vergence). It may also be useful to assess horizontal diplopia in strabismic adults, as well as the compensatory effect of a prism for such patients.
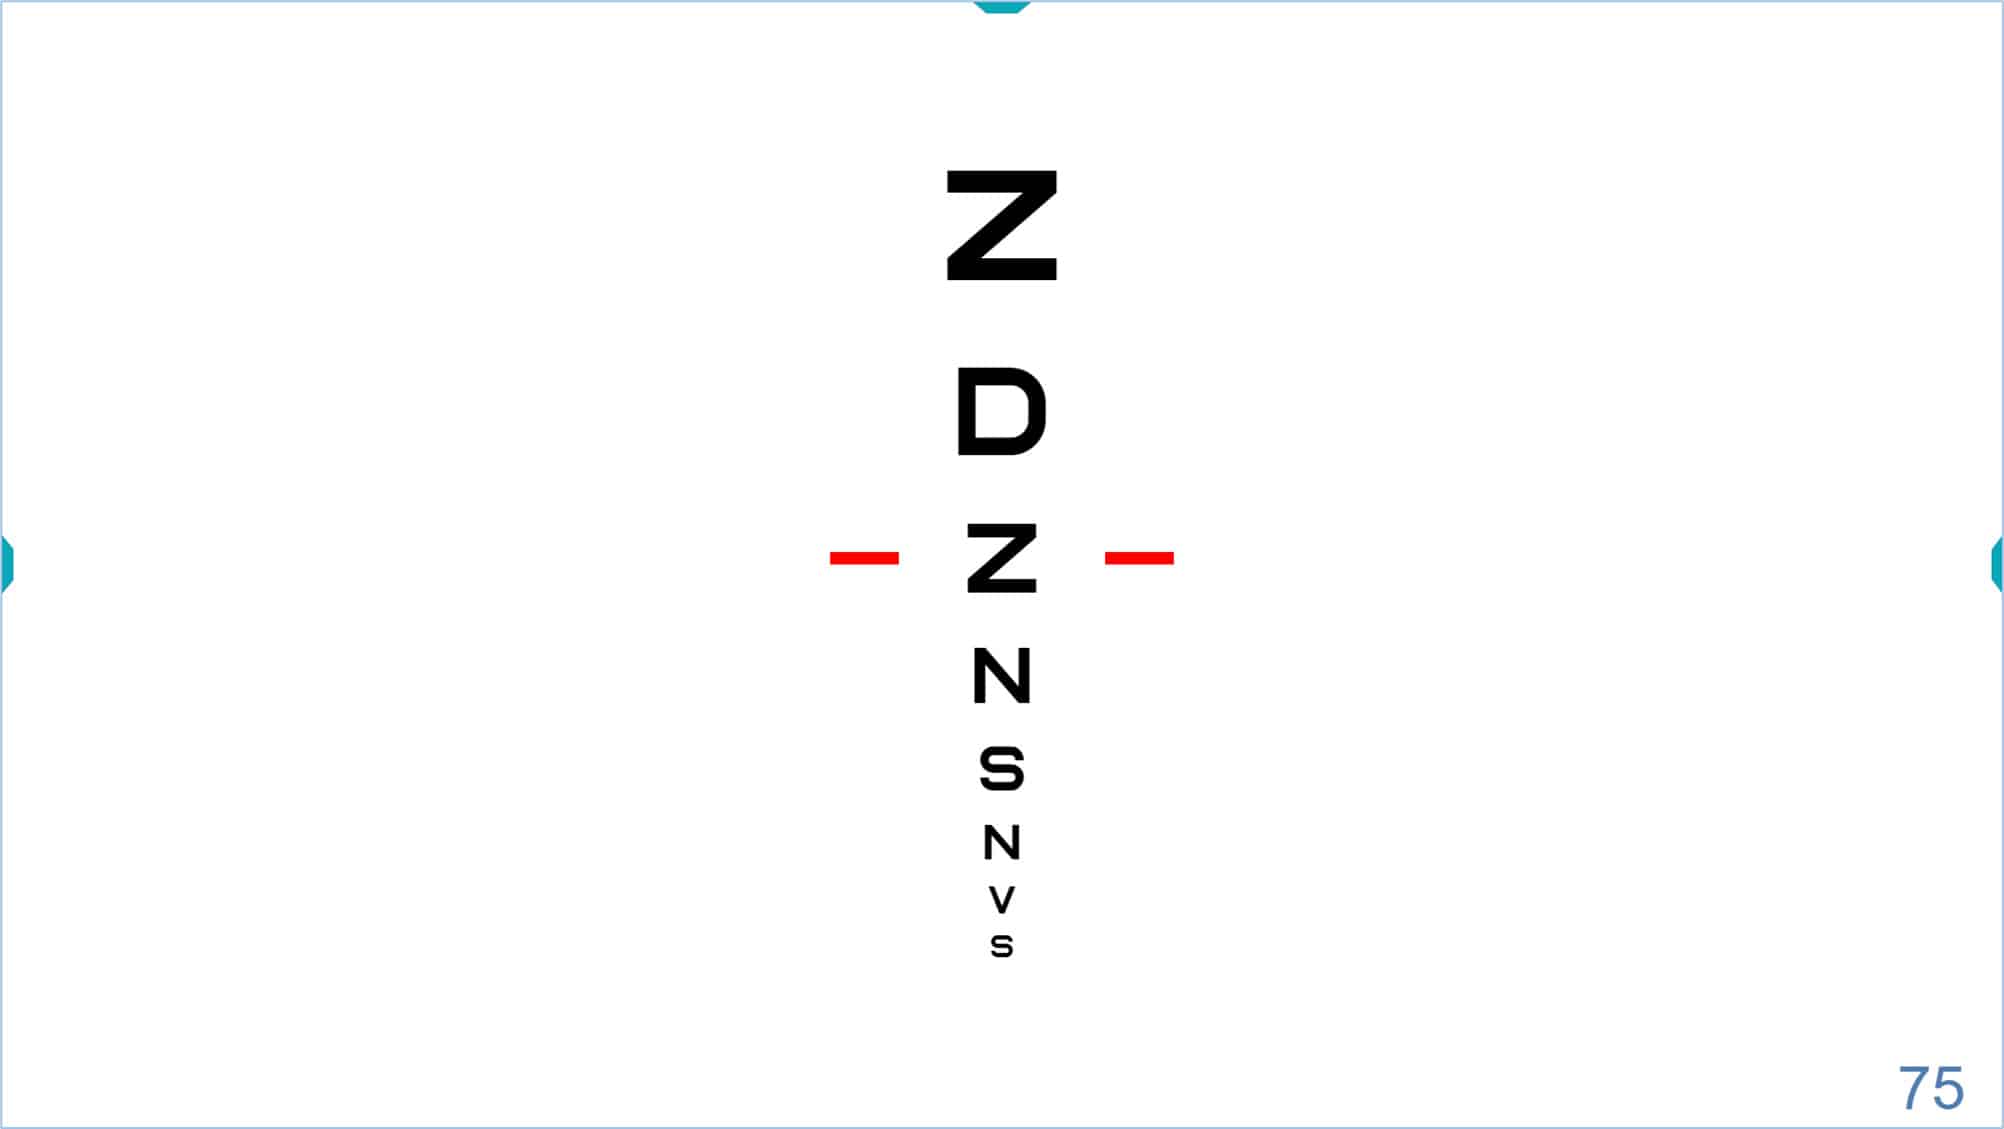
Finally, it is also possible to isolate the central column of the VA chart, to display the optotypes in descending size. To access this new column, click on the corresponding icon, or type “T” (or ← arrow) on the keyboard.
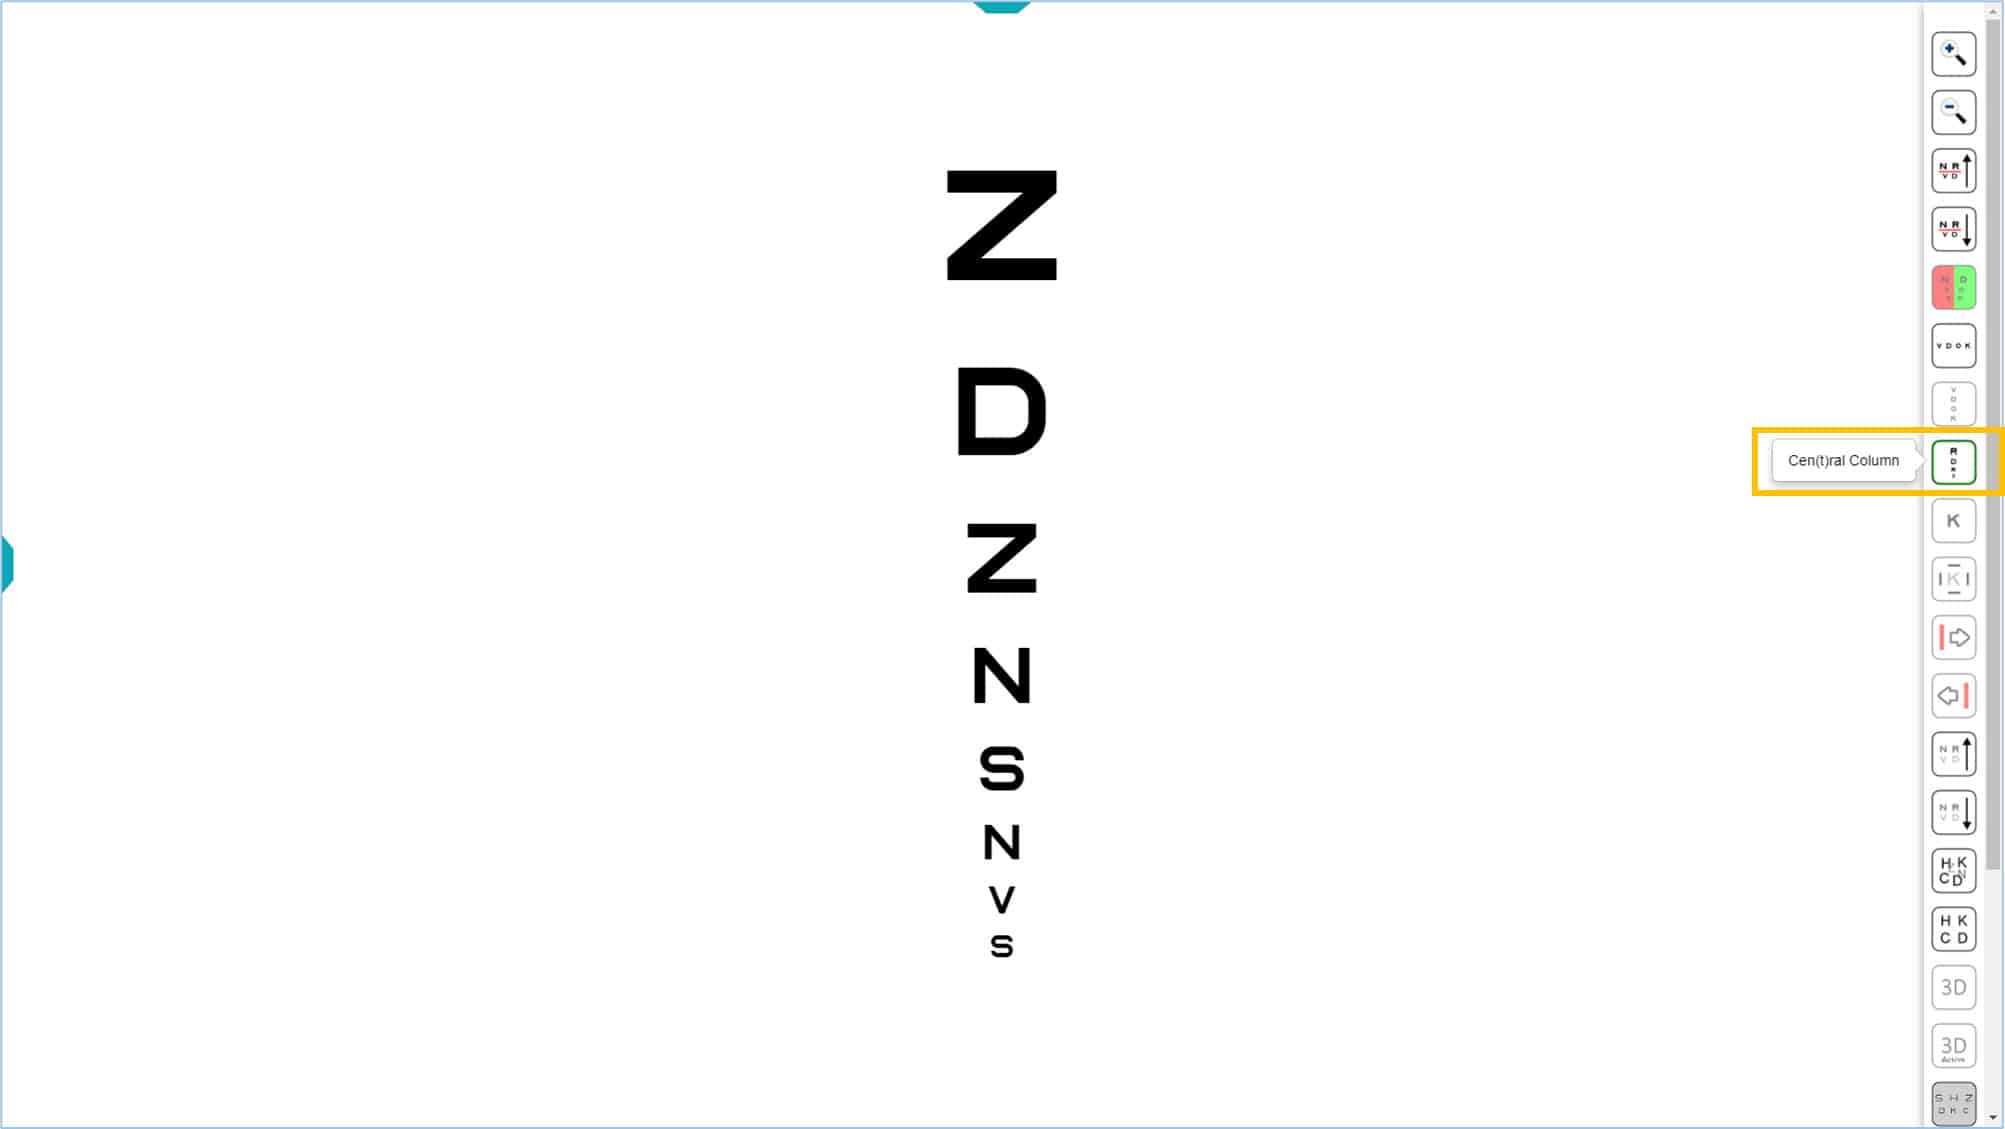
The central column could be used to quickly estimate VA, then start testing near threshold. (See VA Testing Protocol). This is especially useful for very young or very old patients who tire quickly.
Isolated letters or symbols
Finally, it is also possible to isolate a single letter or symbol by clicking on its icon, or the letter “L” (or ← arrow) on the keyboard. Isolated optotypes are often useful to quickly estimate acuity in preschool children, or may be used as a stimulus for the Cover Test, that guarantees a precise and sustained fixation.
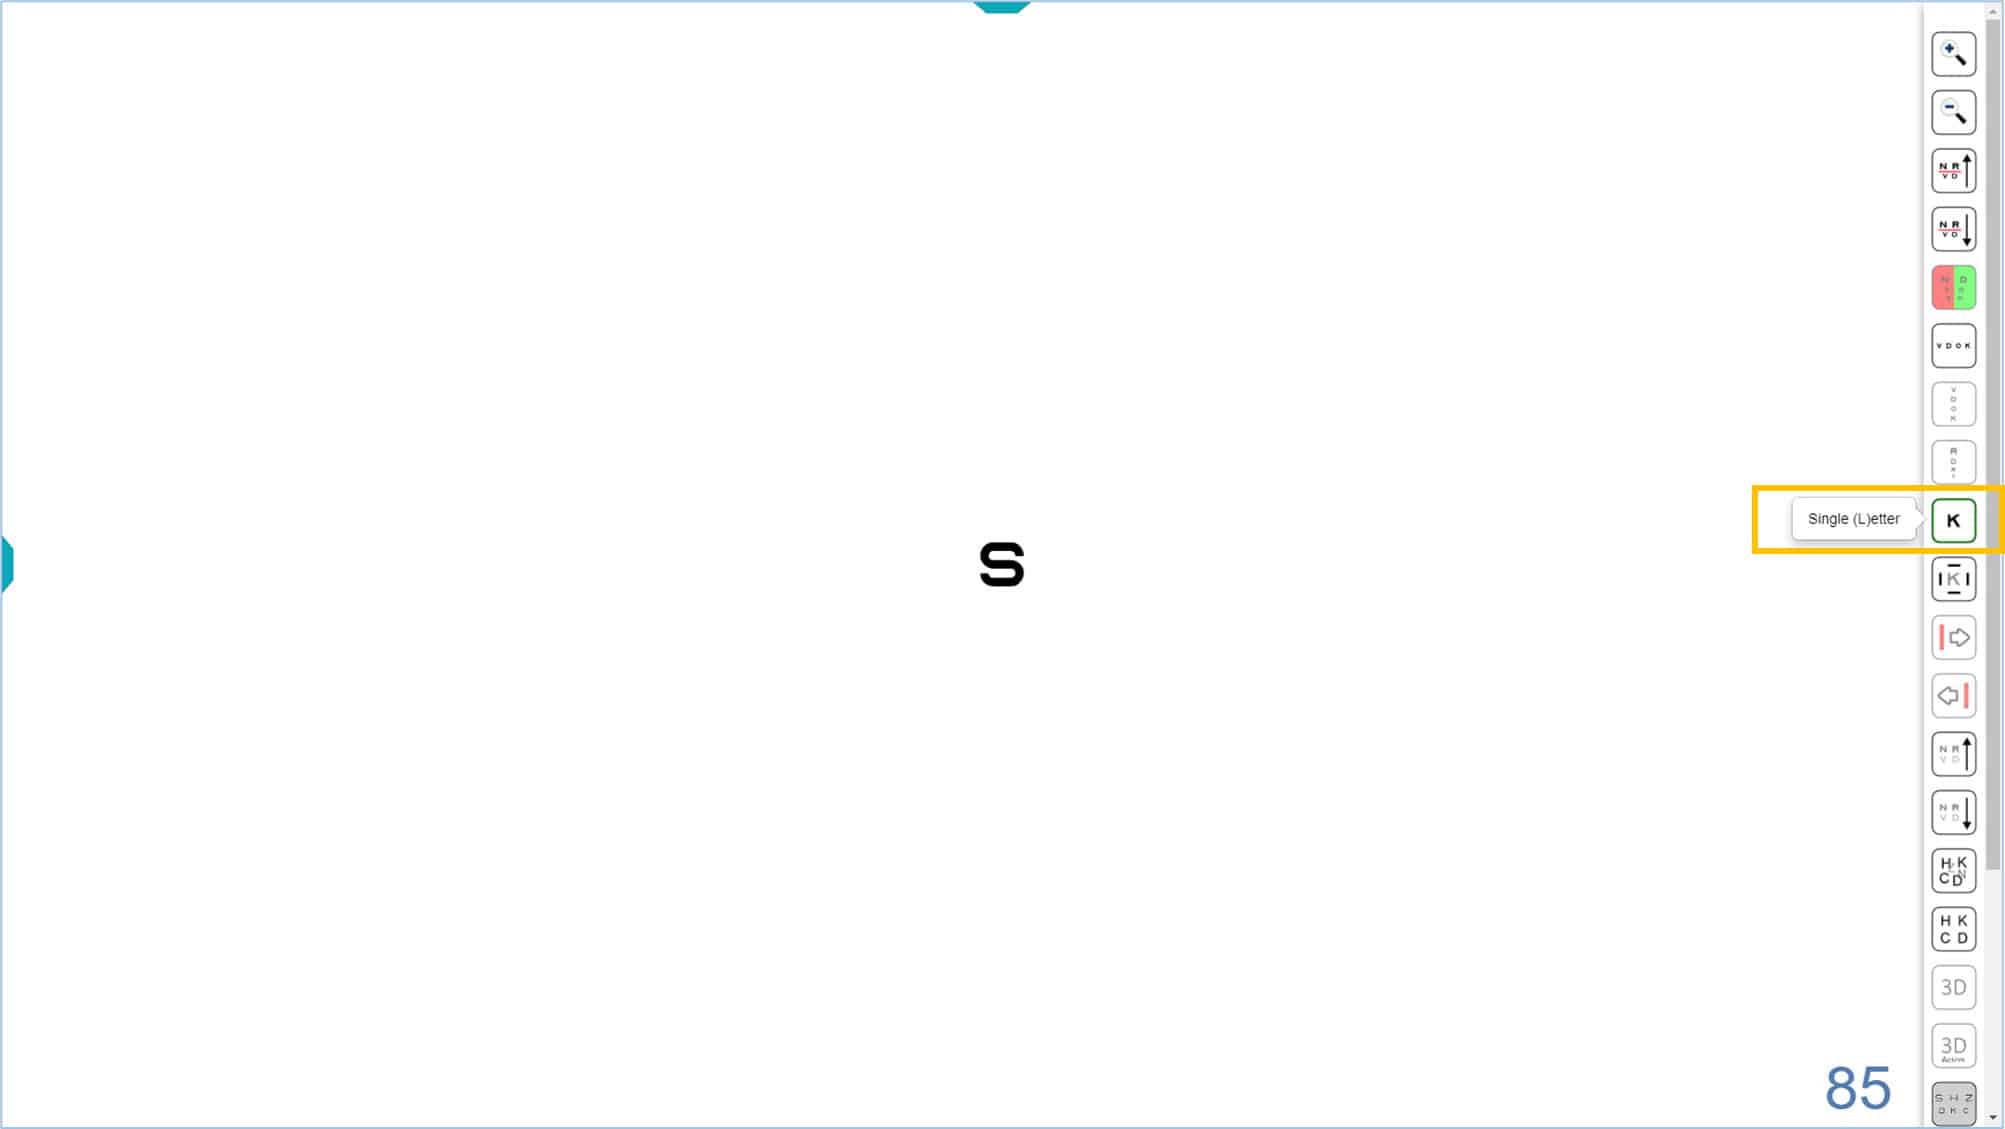
The default optotype size is 85 VAR (0.5 Dec, 20/40, 6/12) and its value is displayed in the lower right corner of the screen. Again, the size of the isolated optotype can be modified by pressing with the corresponding icons, or using either of two keyboard shortcuts “+” or “-”, or the up ↑ or down ↓ arrows. To return to the initial screen, with several rows of letters, click the isolated letter icon again, or re-type the letter “L” (or ← arrow) on the keyboard.
Single letters or symbols with surround bars for contour interaction
As with the isolated row, it is possible to introduce contour interaction to the isolated optotype by pressing the corresponding icon, or the letter “C” on the keyboard (Crowding). Four surround bars appear, each with a thickness equal to that of the optotype line and separated by a distance equal to the size of the optotype.
If a stronger contour interaction effect is desired, the separation can be decreased to one half letter width in the configuration set up. The contours are removed by pressing the same icon or the letter “C” again. This display is similar to the targets used for younger amblyopic children by the Paediatric Eye Disease Investigator Group (PEDIG).