Optonet Vision Unit Documentation
Please note that this User Guide is being currently updated; new sections will be added shortly.

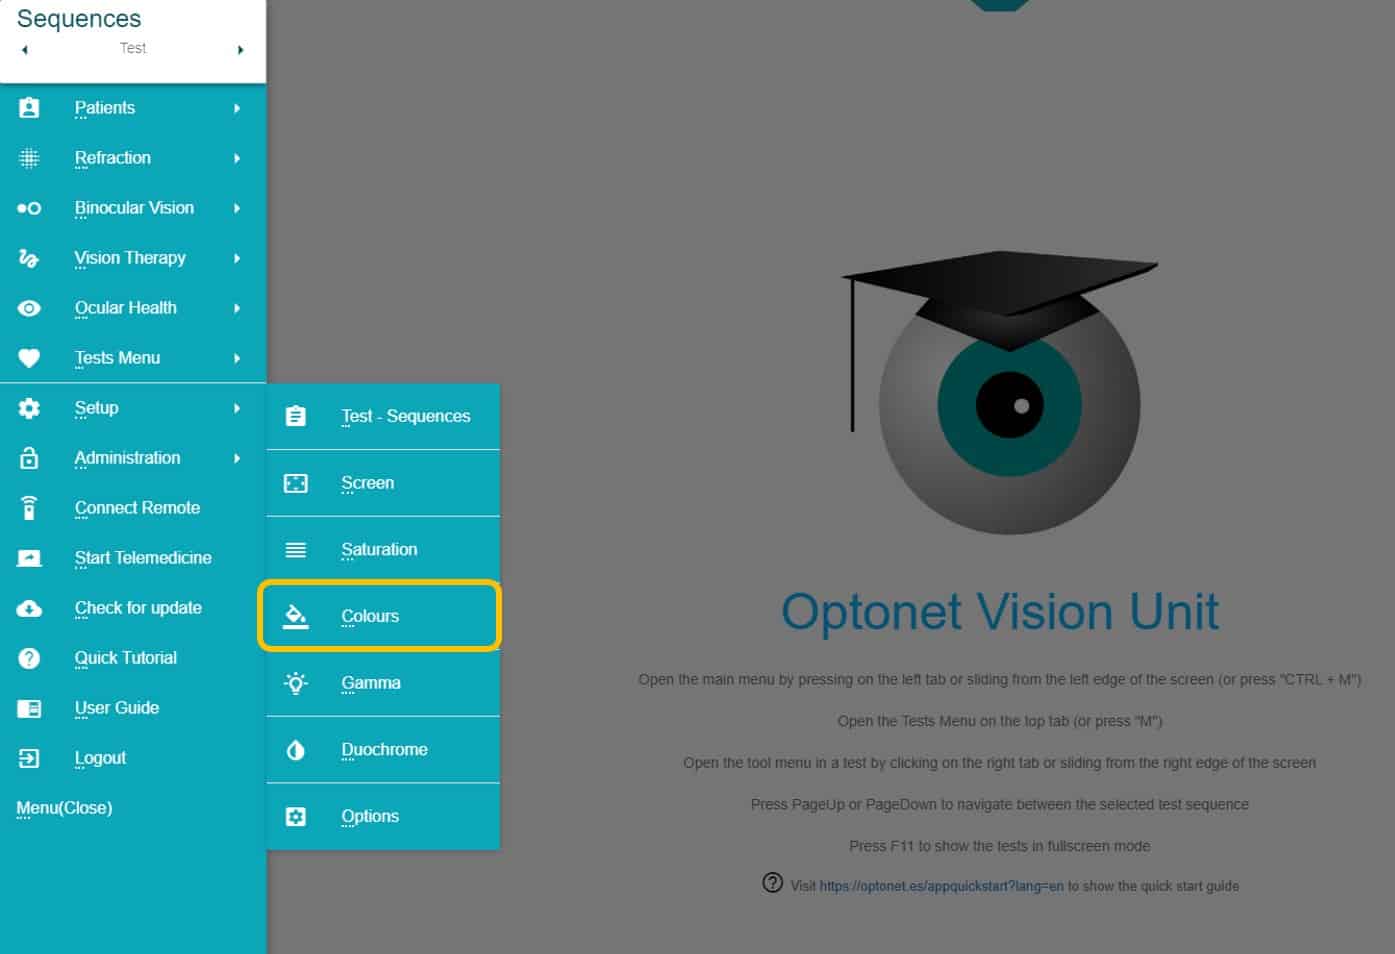
5.1.Colour Calibration
The Optonet vision unit comprises a variety of vision tests, some of which require viewing through red/blue (or red/green) filters.
Calibrating the screen hues of the red, blue and grey colours is necessary when first using the Unit on a particular display, in order to match the screen colours to the filters.
Whenever the the filters or the screen used are changed, screen colour hues will need to be re-calibrated.
Filters
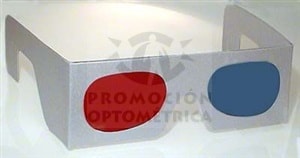
The tests can be viewed either through red-blue filters such as those commonly used in vision therapy:
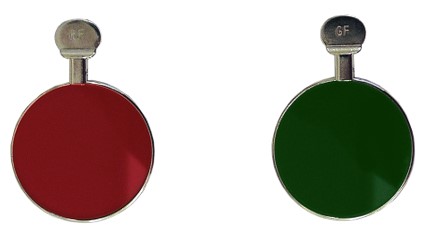
or with the traditional red/green filters incorporated in head phoropters or trial lens sets. In the latter case, we recommend using filters mounted on large aperture metal rings, such as those shown below. Filters on small plastic rims that can be found in some trial sets tend to be too dark to be suitable.
From now on we will refer to red/blue glasses, as they are most widely available. Please note that the red filter must always be positioned in front of the right eye.
Colour screen calibration
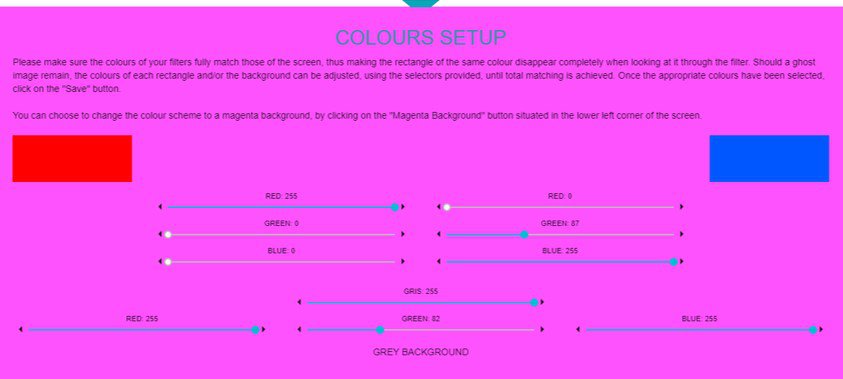
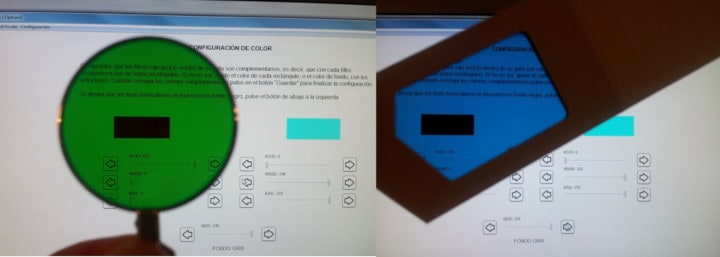
To calibrate screen hues, we must view the screen through the filters. When there is a good match between screen colours and filters, each eye will only see one of the two coloured rectangles that are shown on the screen (the other will seem to disappear completely),
If the colours are not totally complementary, one eye may be able to see a ghost image of the second rectangle. That can be rectified, adjusting the tones of screen with the controls provided, until a perfect match is found. Three controls allow fine tuning the hues for each rectangle shown; and in addition, four more gauges can be found at the bottom of the screen, to adjust the shade of the background (which is usually a pale grey).
Control gauges can be moved by clicking on any of them with the left mouse button, and while holding the button down, dragging the selector sideways. Another way of moving the lever is by successively clicking on the arrows found on either side of it.
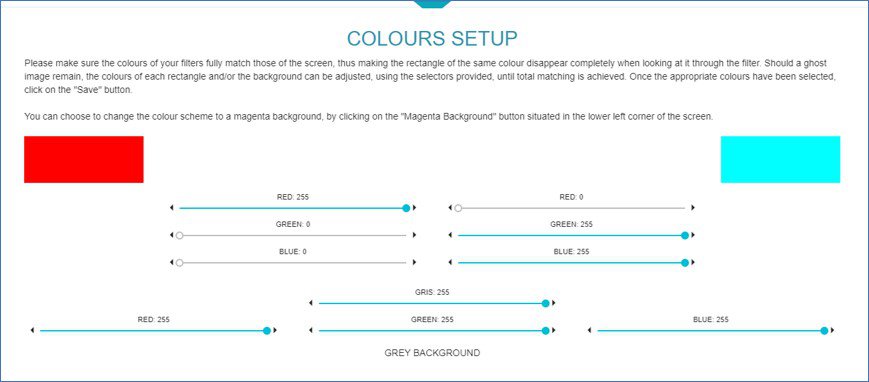
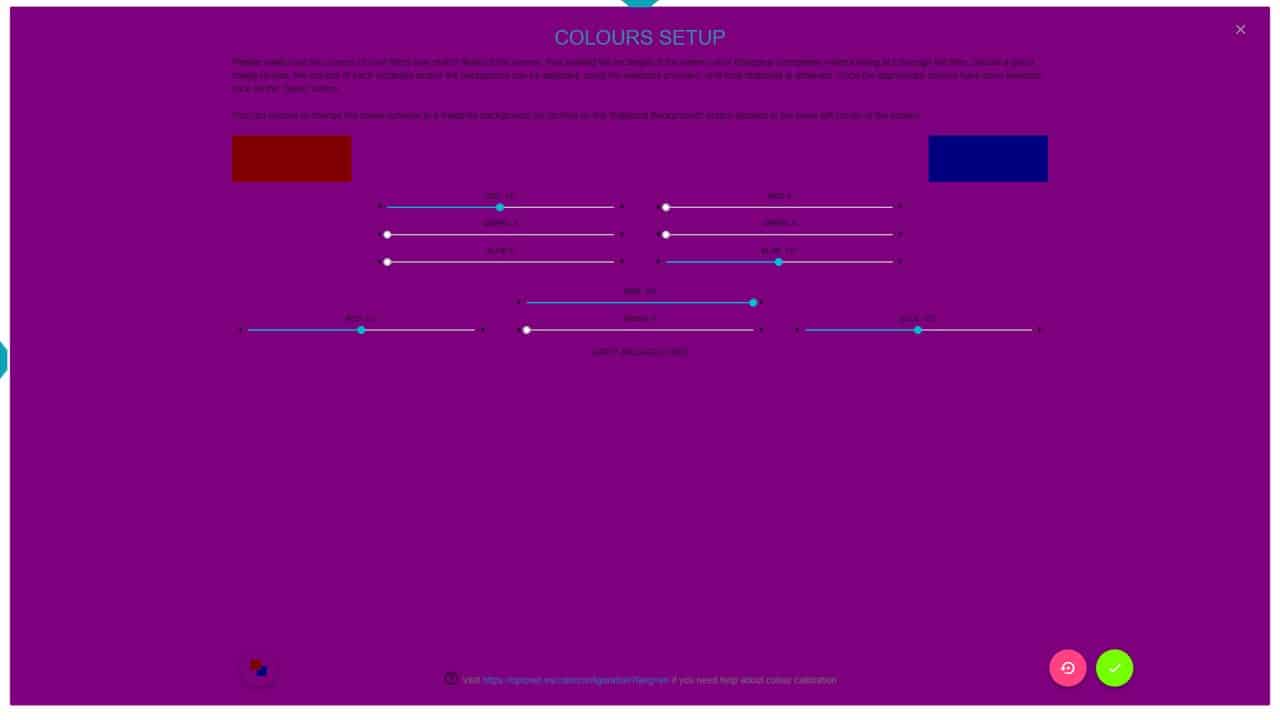
We generally recommend a white/light gray background for those binocular tests that require colour filters; however, the colour scheme can be changed to magenta background, by clicking on the corresponding icon found on the lower left corner. The same button will bring us back to white/gray background.

Calibration of screen colours can be achieved following two simple steps:
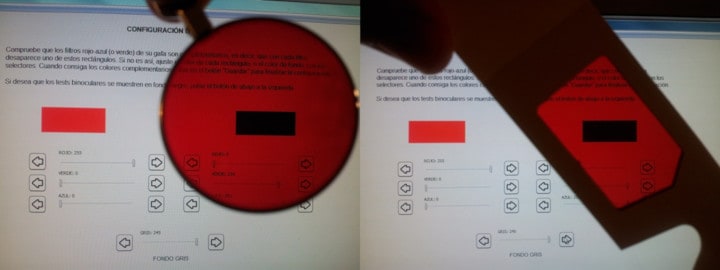
Step 1: Look at the red rectangle through the red filter, to check if it completely disappears. If a faint rectangle can still be seen, we can slightly increase the darkness of the grey background. Darkening the background a little is very useful to make the red ghost image disappear. In this example the red rectangle disappeared with the gray selector set at a 245 value.
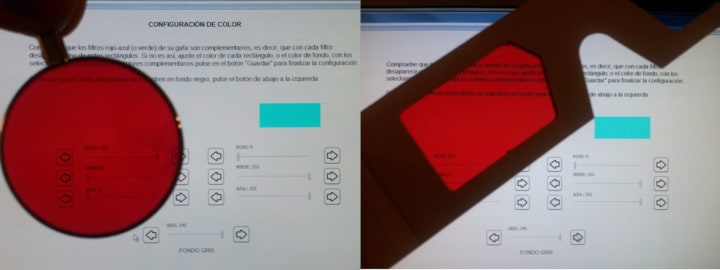
On the other hand, through the red filter, the blue rectangle looks black.
Step 2: After finding a match for the red filter, we check whether the blue rectangle disappears through the blue or green filter. If necessary, we can reduce the green component, until the rectangle becomes invisible. But if a perfect match is not found, the blue component can also be slightly modified. In these examples, the blue rectangle disappeared through the green filter with a green component of 249; while the green component had to be set at 245 for a perfect match with the blue filter.
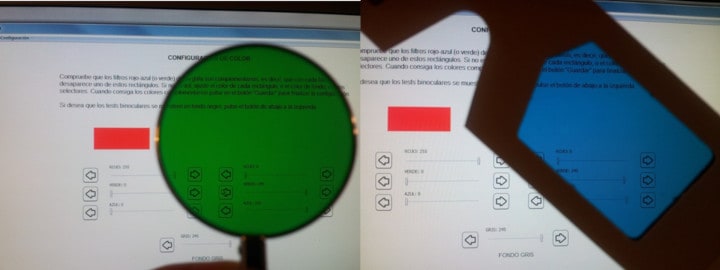
Again, the red rectangle looks black through the green or blue filters.
These simple steps for colour calibration will sort most cases. However, in some instances we may need to also modify other colour selectors slightly, depending on the filters and screen used. In any case, if a faint ghost image remained after colour calibration, it would not be crucial, since it will not be confused with the other, much darker images seen through the filters.
A “Reset” icon on the lower right corner will restore the colour settings to their default values, in order to allow multiple colour configuration options to be tested.

Once calibration is completed, it needs to be saved by clicking on the green “Save” button.
From then on, the Unit will use this saved colour configuration every time it is launched. We will only need to adjust colours again if there is any change in the filters or screen used.
Please note that while calibrating the colours, the observer should place him/herself at the normal viewing distance that will be used for patients later. It is also convenient to change the colour filters from one eye to the other (i.e. red filter for the LE) every 30 seconds, as the retina quickly saturates of any one colour, making it difficult to detect subtle differences.
Magenta colour
The Magenta background is made from equal amounts of blue and red, and thus it is most efficient eliminating all ghost images, especially for red/blue filters. The only drawback of this combination is its darkness, so it is advisable to increase the brightness of the computer screen to the maximum. This combination is especially useful for Vision Therapy exercises.
A similar colour combination with a pink background is nearly as effective as the magenta, but much lighter.
To achieve a pink background we must start from the light grey and look at the red rectangle through the red filter. Then we will reduce the green component of the grey background (it turns pink), until the red rectangle disappears (it is achieved in the next example with a green value of 82). Then we will look at the blue rectangle through the blue filter, and reduce its green component until it disappears completely (87 in the following example).